
How To Create a Stock Media Website With WordPress [7 Steps]
A quick guide on building your own stock media marketplace with WordPress.
A short guide on how to build an appointment booking platform for lawyers.

Many legal professionals see launching their own online scheduling platform as a career milestone. At the same time, clients want easy-to-access legal services. So, building such a website can provide a solution to both needs.
In this article, we’ll show you how to create a lawyer appointment website using WordPress without any coding skills. This tutorial will be useful for both lawyers who want to create their own scheduling platform and people who want to start a multi-vendor lawyer booking marketplace.
So, let’s get started!
A lawyer booking website is an online platform where clients can schedule appointments with legal professionals. As we mentioned, such websites can work in two ways:
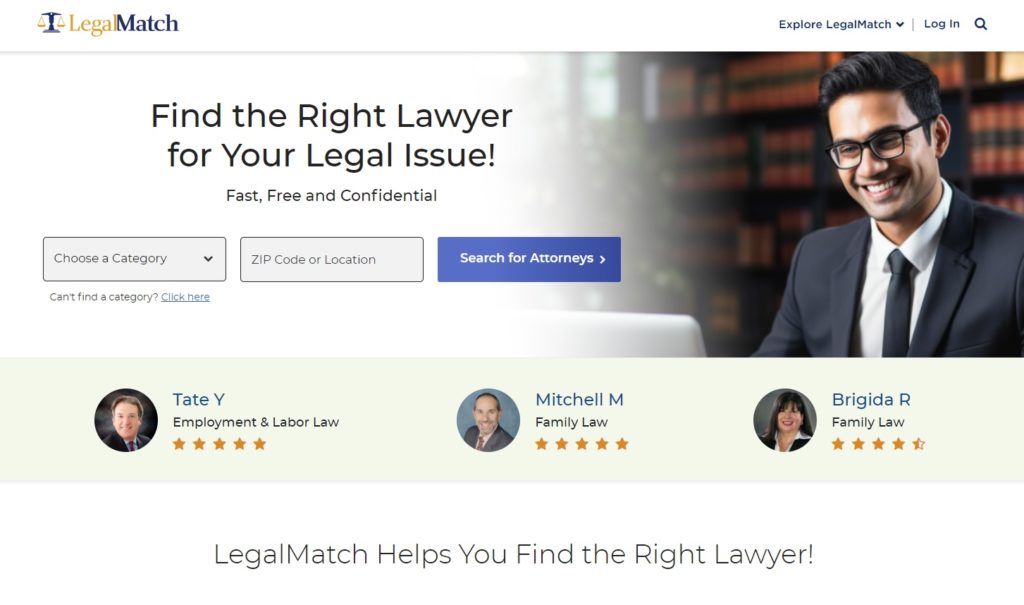
A great example is LegalMatch, a lawyer appointment booking marketplace where you can search for attorneys based on your case, pricing preferences, and location.
Before you begin creating your lawyer booking platform, make sure you have all the necessary prerequisites:
For the sake of this tutorial, we’ll use MeetingHive, a sleek and efficient appointment-booking WordPress theme, and HivePress, a versatile WordPress plugin that will power all booking and marketplace functionalities.
Now, let’s get to work and build your lawyer booking website with WordPress!
In the next steps we’ll show you how to install all the necessary plugins, set them up and finally monetize your lawyer appointment website. First of all, we need to install the MeetingHive theme.
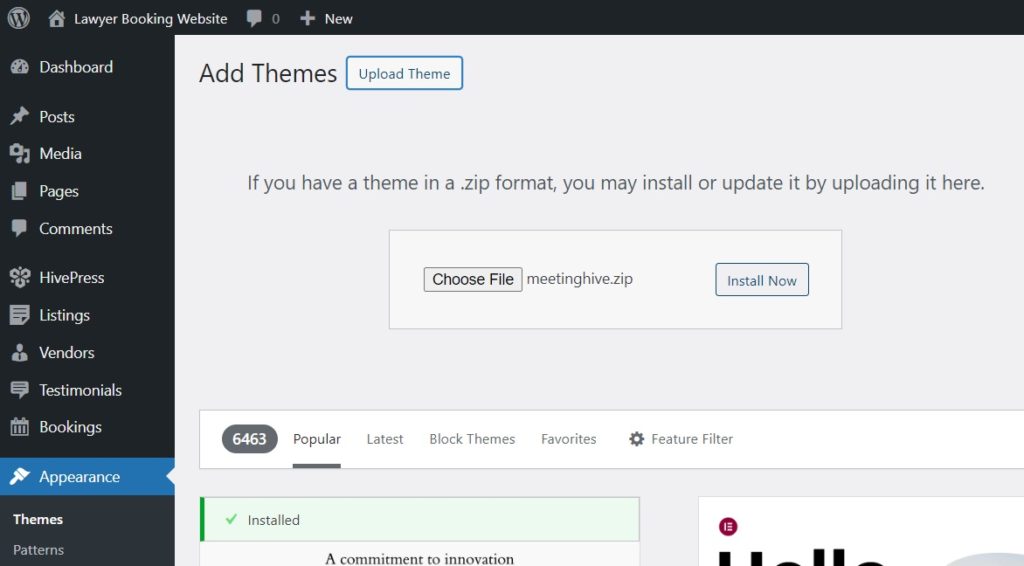
Go to the WP Dashboard > Appearance > Themes > Add New Theme section. Here, click on the Upload Theme button and upload the MeetingHive ZIP file. Then, proceed to install and activate the theme.
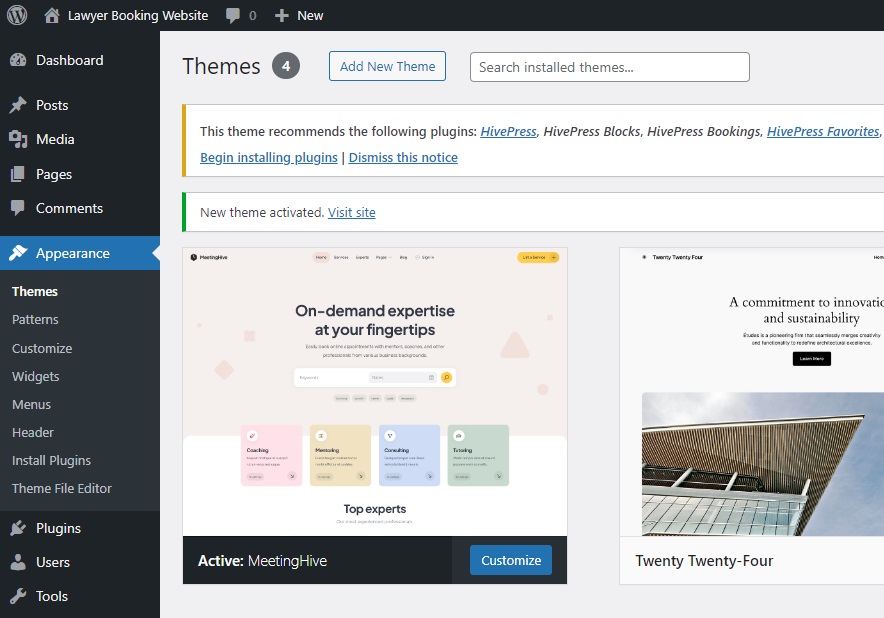
After installing MeetingHive, you’ll be prompted to install recommended plugins, including HivePress. These plugins are essential for powering all the features on your website, so simply click on the provided link to install and activate them.
Additionally, you can import the MeetingHive demo content to see how everything works and learn the functionality. This way, everything would look just like on the MeetingHive demo site from the start. To import the pre-made content, please check the screencast below:
Now, we need to add different listing categories to create a structured layout and simplify user navigation. This will allow users to find lawyers based on the field of law. For example, let’s add categories such as Criminal Law, Business Law, Real Estate Law, and Healthcare Law.
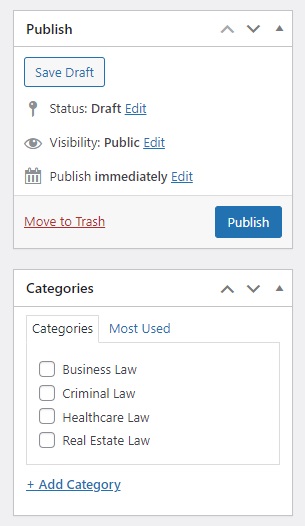
To do that, go to the WP Dashboard > Listings > Categories section and name your first category. You can also enter a description, add an icon, pick a suitable color, and organize categories in a hierarchy by selecting the parent category.

When you’re finished, click the Add Category button. Remember, following the same steps, you can add as many categories as you need for your lawyer appointment website.
Next, we need to create custom listing fields to allow users to filter attorneys and view details about them. With MeetingHive, you can add as many custom fields and search filters as you want to tailor the site to your needs. For example, to help users understand whether the consultation is online or in-person, let’s add a “Setting” field.
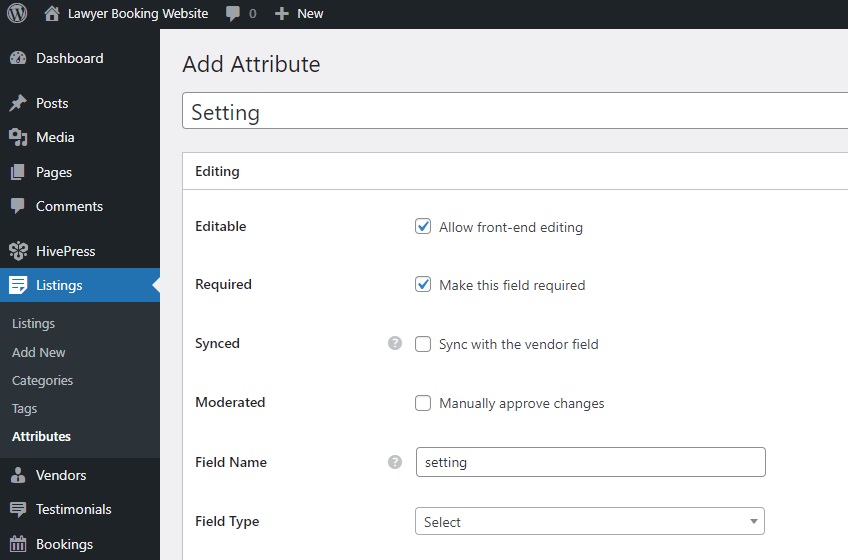
To create a new listing field, navigate to the WP Dashboard > Listings > Attributes section and click Add New. This page lets you customize your listing field in three contexts: Editing, Search, and Display, so we’ll cover each. Additionally, you can check this doc on how to set up listing fields.
The first section, Editing, lets you make a field editable to allow front-end editing. Then, you need to select the field type. In our example, it’ll be “Select”. Finally, you can choose whether your field should be required or optional.
In the Search section, you can turn your field into a search filter, allowing users to filter listings based on its value. We’ll mark our field as filterable and searchable and pick the “Select” field type again.

In the last section, Display, you can define how your field will appear on the pages of your website by setting the display areas, display format, and icon. Let’s choose Block (secondary) and Page (secondary) as display areas, pick a suitable icon, and set the following display format: %icon% %value%

Also, note that you can make any field category-specific by selecting a category in which you want it to appear. If you want it to appear in all categories, leave the checkboxes empty. When you’re finished, press Publish.
As soon as you click Publish, you’ll see the Edit Options button appear. That’s because we created a field with a “Select” field type. So, let’s follow the Edit Options button and add two options: “In-Person” and “Online”.
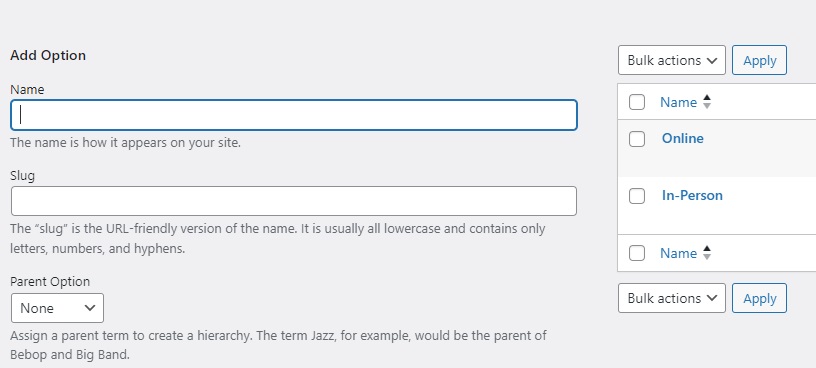
Congrats! This field will now show up in the listing submission form. Don’t hesitate to follow these steps to create additional custom fields on your attorney scheduling platform, such as “Free Consultation”, “Contact Info”, and so on.
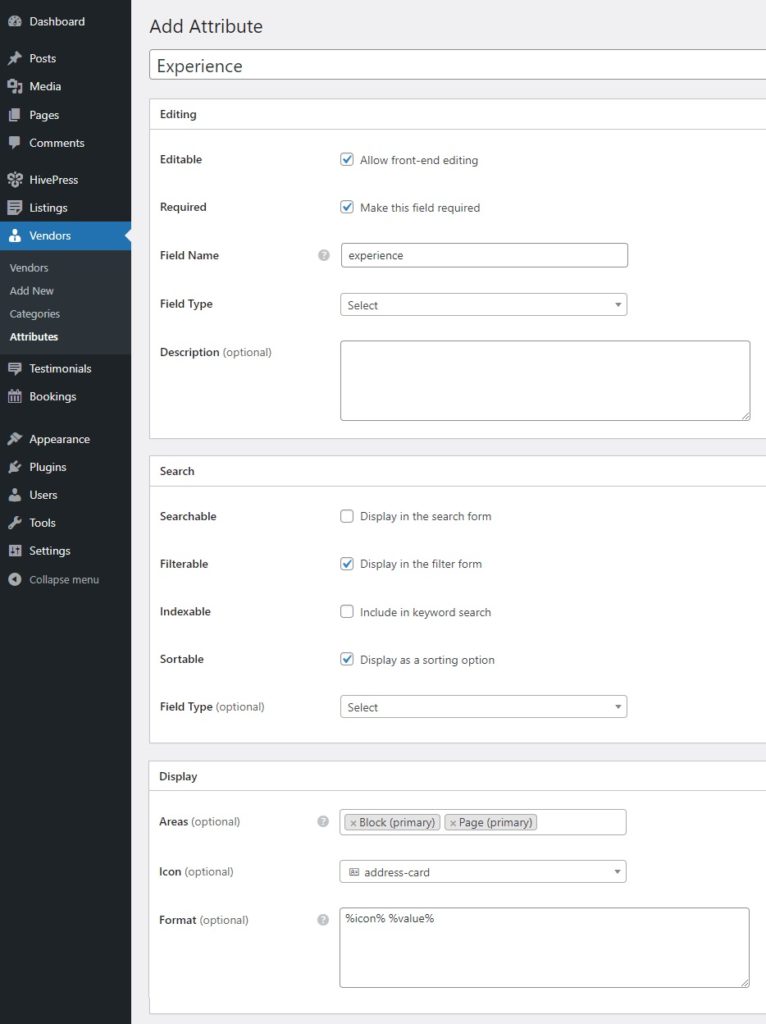
Okay, we’ve added the listing fields. Now, let’s focus on the vendor fields since some personal information about each lawyer is also needed to make a decision about booking an appointment with them. For instance, let’s create the “Experience” profile field, which will require lawyers to specify their work experience when registering. The process is similar to what we did with the listing fields.
Go to WP Dashboard > Vendors > Attributes > Add New and write a field’s name. In the Editing section, enable front-end editing, set the field type to “Select”, and mark this field as required. In the Search section, allow users to use this attribute as a search filter by marking it as filterable and sortable and again selecting the “Select” field type. Finally, in the Display section, define how the custom field will appear on pages by assigning it to specific areas and setting its display format. For the “Experience” field, we’ll choose Block (primary) and Page (primary), select an icon, and use the same display format as for the listing fields: %icon% %value%
After the field is published, click the Edit Options button to add options for the experience time, such as “1+ Years,” “5+ Years,” and so on. Don’t forget that you can add as many other fields and search filters as you need, like “Languages Spoken”, “Education”, etc.
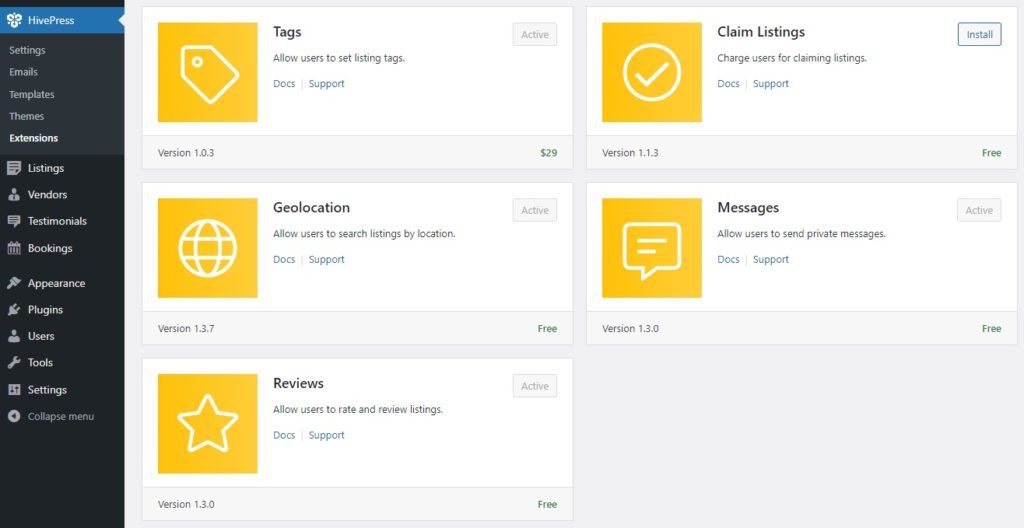
At this point, you can enhance the functionality of your lawyer appointment platform a bit. To do that, visit the HivePress > Extensions page, where you can find more than 15 HivePress extensions that are fully compatible with each other. For a lawyer booking platform, you may want to install:
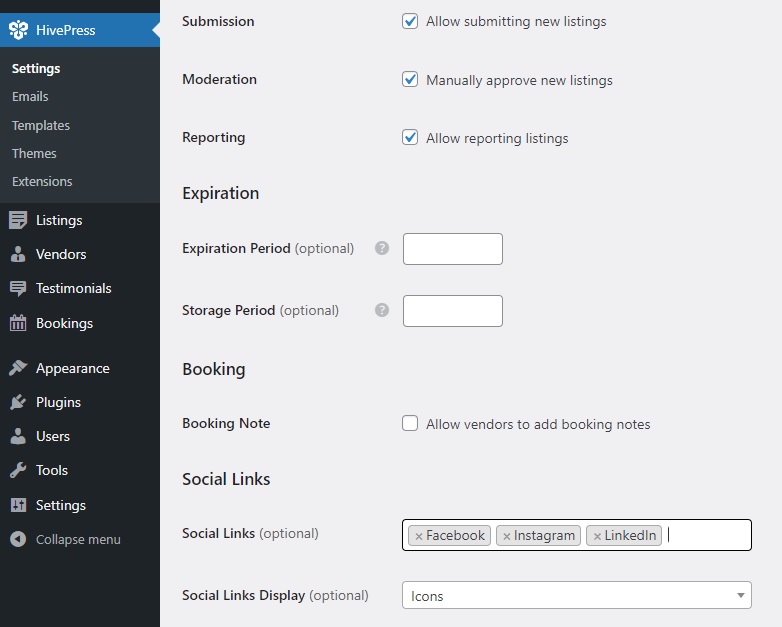
Next, let’s review some important settings in HivePress > Settings to ensure everything will work just as needed. For instance, in the Listings tab, you can disable new listing submissions if you prefer to be the only person adding listings to your appointment platform (if you’re creating a single-vendor lawyer appointment website). Similarly, you can disable manual listing moderation.
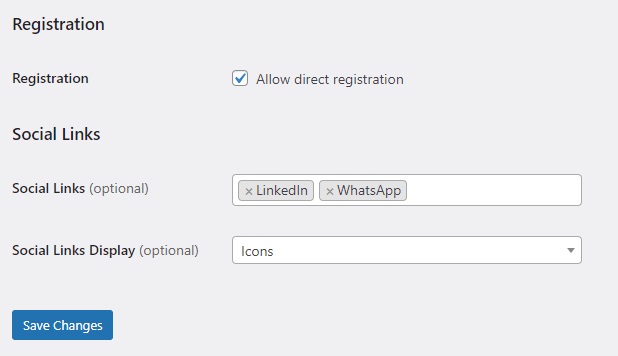
Let’s proceed to the Vendors tab. By default, HivePress requires you to add at least one listing to become a vendor. However, you can enable direct vendor registration here, allowing lawyers to sign up as vendors immediately.
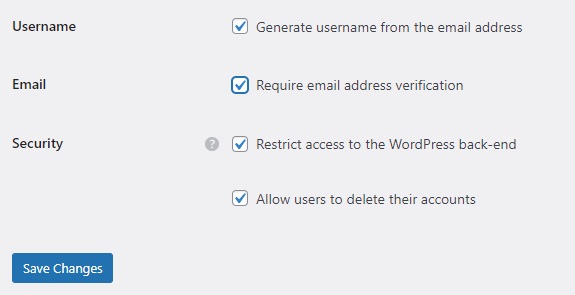
Next up we have the Users tab. Here, we recommend enabling email address verification to ensure all newly registered users aren’t bots.
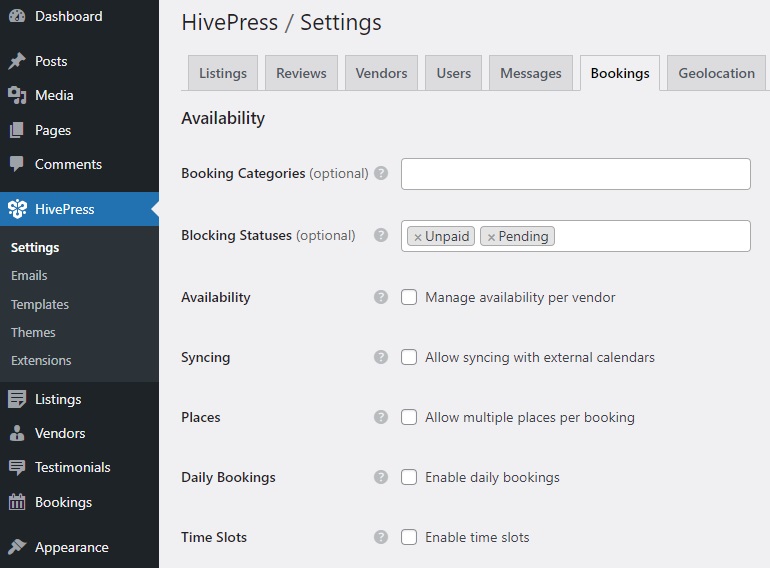
Moving on, it’s necessary to visit the Bookings tab to set up the booking functionality according to your needs. For example, you can turn on syncing with external calendars or enable time-based booking slots. For detailed instructions, please refer to these docs.
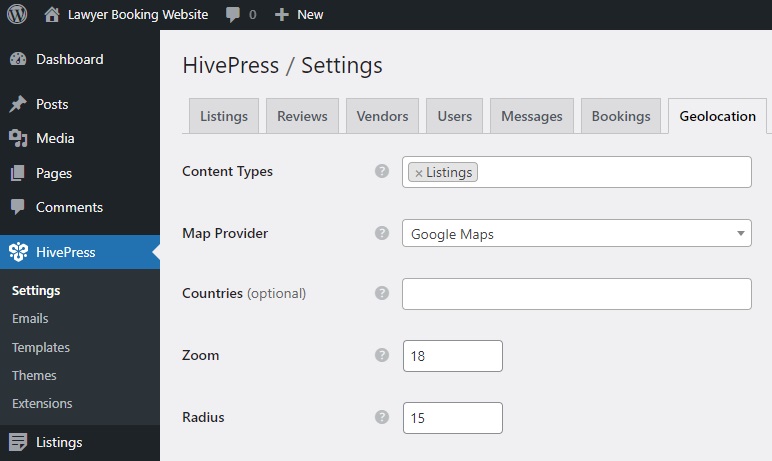
Finally, if you decide to add the Geolocation extension, it’s important to set it up. You can choose between Google Maps and Mapbox as your map provider, but we recommend Mapbox due to its easy setup. Please refer to this doc for detailed instructions.
That’s it! We’ve only shown you the main settings to which you should pay attention, but it’s advisable to go through all the other settings as well.
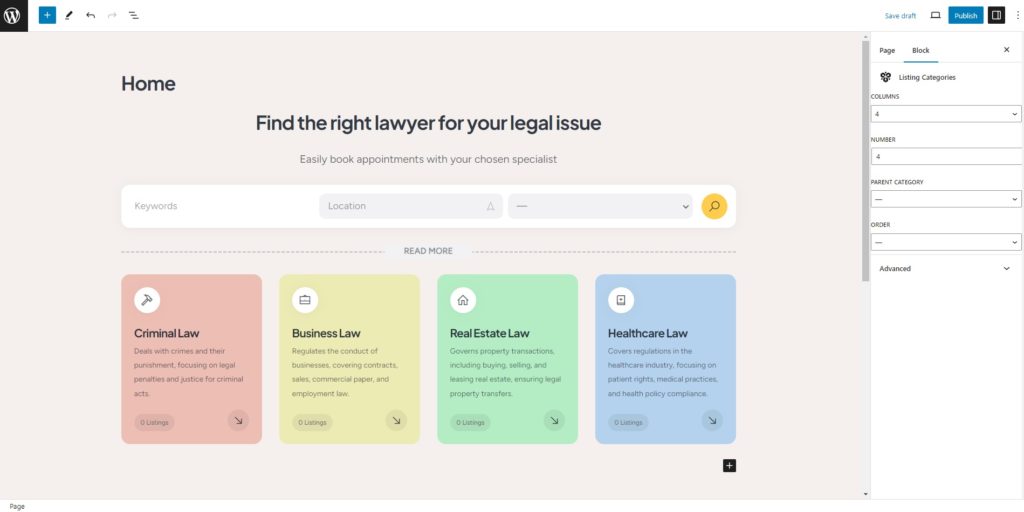
The next step is to create a homepage for your lawyer appointment website. MeetingHive is fully integrated with Gutenberg, allowing you to easily create an attractive layout using blocks. To create a new page, go to WP Dashboard > Pages > Add New.
Firstly, name the page “Home” and come up with a header text. Then you can start adding HivePress blocks by clicking the plus icon and typing “HivePress” in the search bar. For example, let’s add the “Listing Search Form” and “Listing Categories” blocks. You can also customize these blocks using the settings column on the right. Click Publish to make the page live.
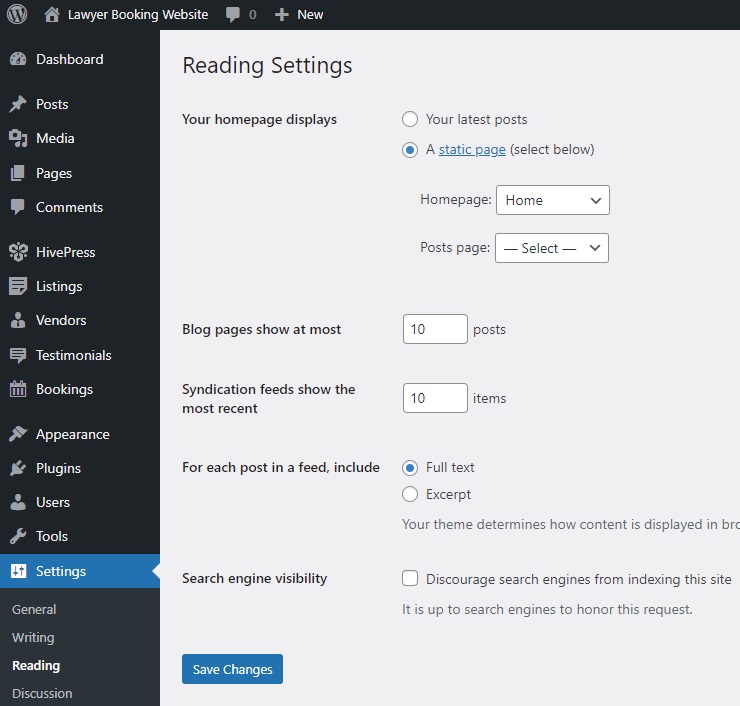
Then, you have to go to the Dashboard > Settings > Reading section and set this page as your homepage by selecting it from the dropdown list. Later, you can also assign the blog page here.
Keep in mind that you can further customize the pages of your site. Feel free to watch this video for some MeetingHive customization tips:
Now, let’s look at how it all works from a lawyer’s perspective. First, if you’ve enabled direct vendor registration in HivePress > Settings, you will need to add a lawyer registration form to your site. This form includes the required and optional fields we’ve added earlier. Check this doc to learn how to add it.
When it’s ready, visit your website from the front-end and complete the registration form.
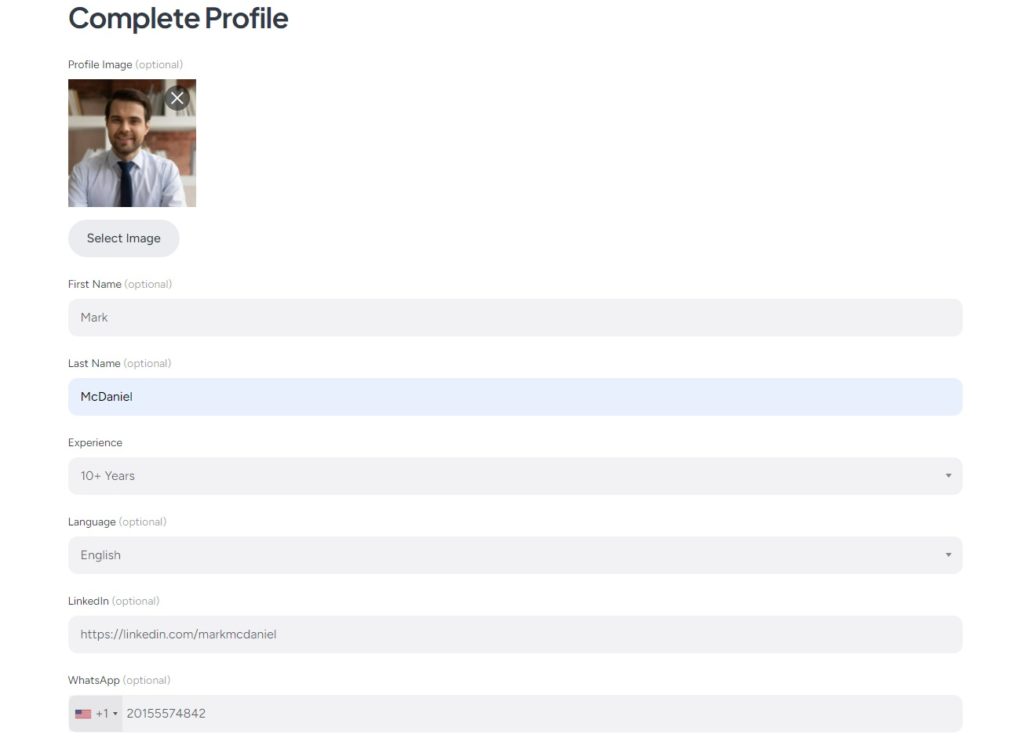
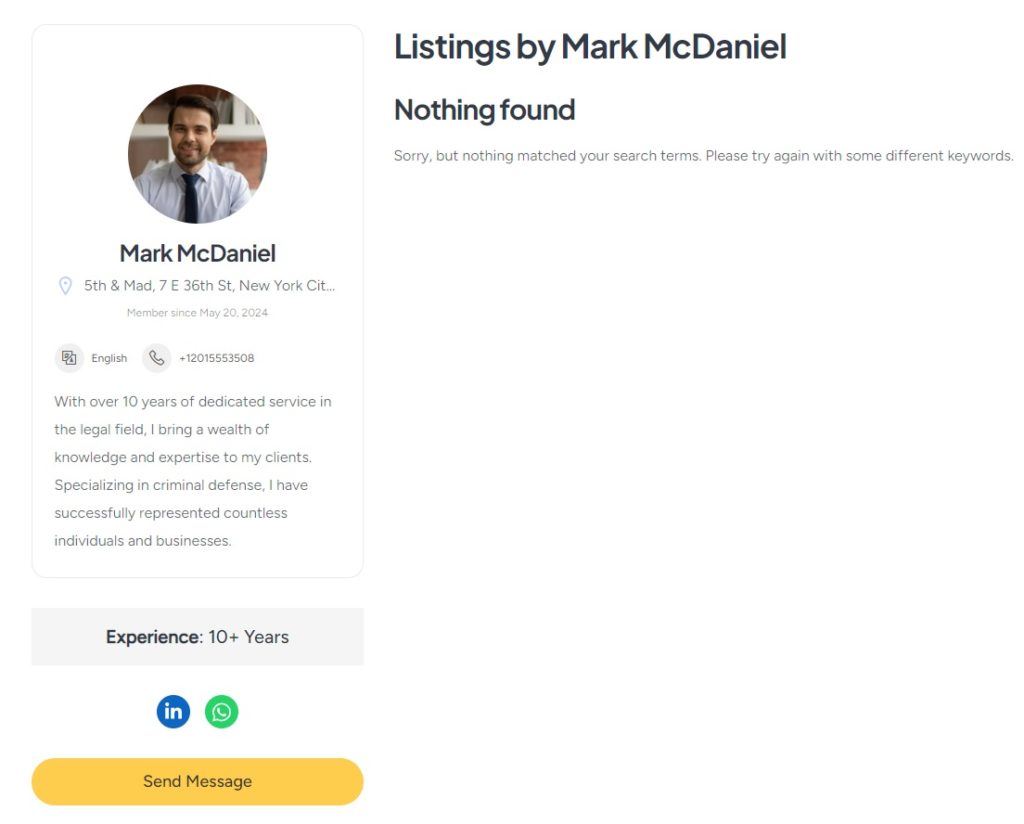
After entering all the details, press Save Changes to finish the registration process. Let’s now visit the lawyer’s profile to see what it looks like. Note that all the custom fields are working and displaying as we intended. Also, you can see that there are no listings at the moment, but we’ll change this in the next step.
Finally, let’s add the first legal service listing to your website. As an admin, you can add new listings via the WP dashboard or through the front-end submission form. Let’s add a new listing via the front end.
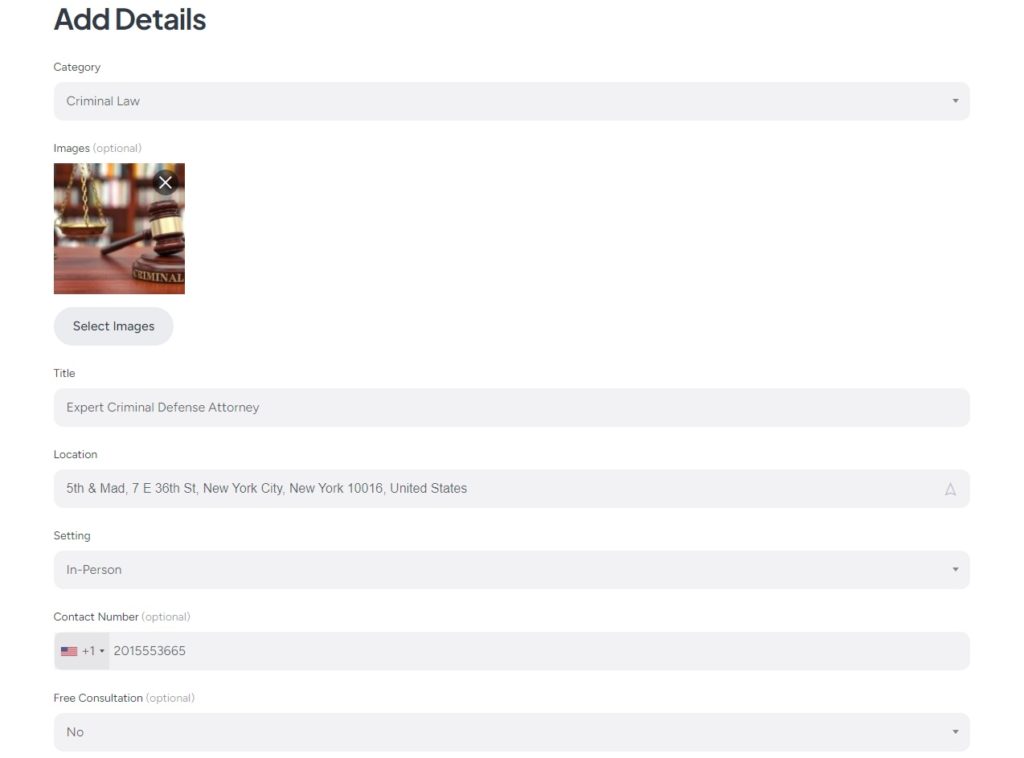
To add a new listing, go to your site’s homepage and click the List a Service button. You’ll be taken to the listing submission page, where you’ll see common fields like title and description, along with the custom fields you added earlier. In addition, some fields, such as booking options, are added by different HivePress add-ons. Also, you can turn on manual booking moderation. Remember, this submission form is fully customizable.
Simply fill out all the fields, then click the Submit Listing button, and the listing will be submitted for review. An admin can then approve or disapprove it in the WP Dashboard > Listings section. As we mentioned, if you prefer not to manually approve listings, you can disable moderation in the WP Dashboard > HivePress > Settings > Listings section.
Once approved, the listing will appear on the front end.

Since your website’s main purpose is to book appointments with lawyers, let’s test how it works. To do that, visit the listing page and select the desired day and time for an appointment.
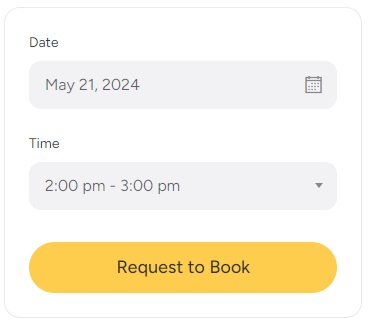
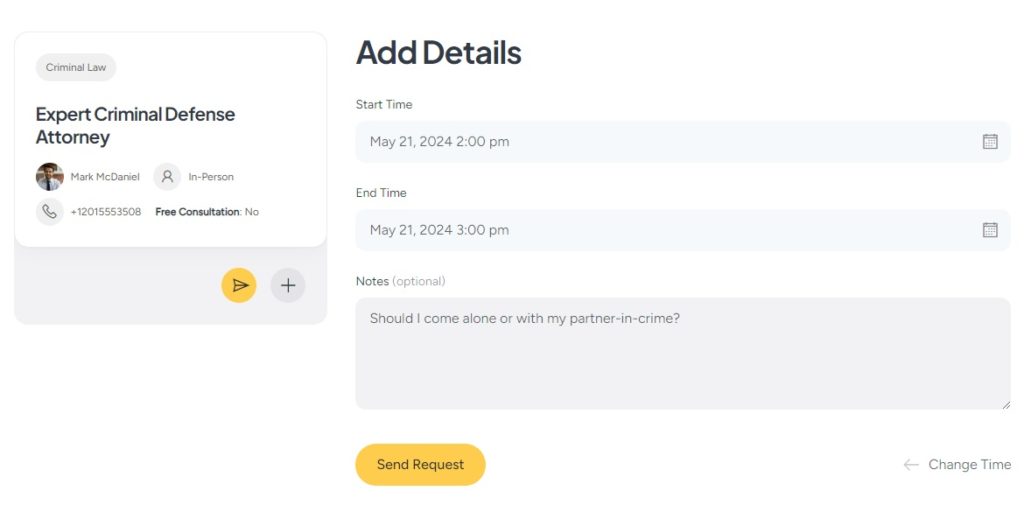
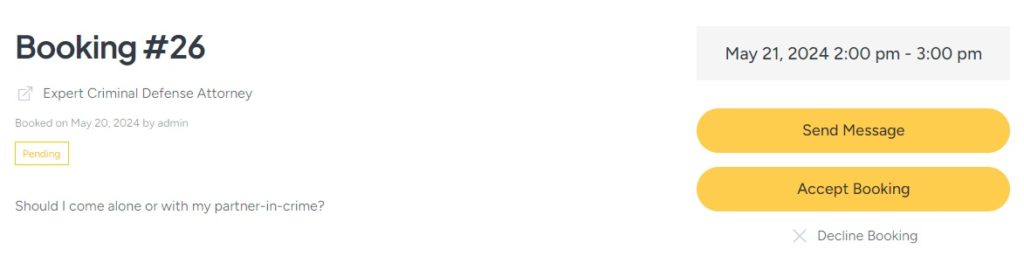
After this, click the Request to Book button. You’ll be redirected to the confirmation page, where you can review your booking request and leave additional notes. If everything’s correct, simply click Send Request.
Once it’s done, attorneys will see booking requests in their dashboards. Then, he can either accept, decline or send a message for additional information. Simple as that.
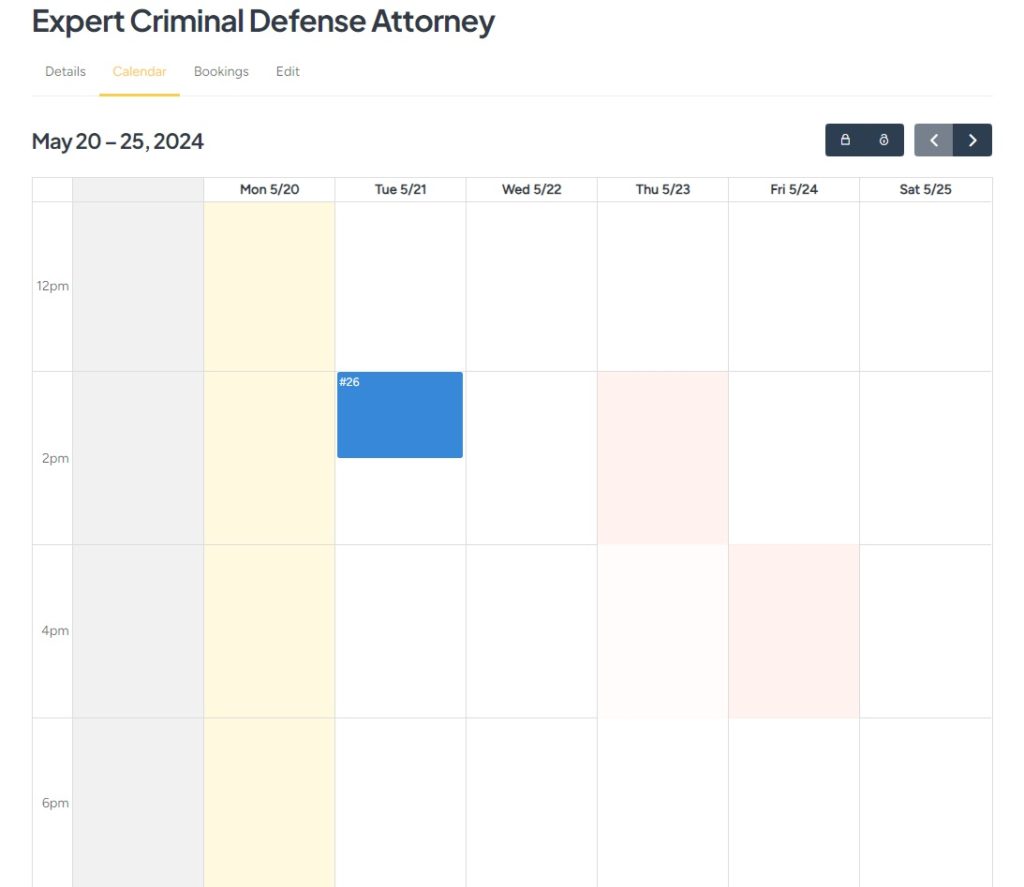
What’s more, lawyers can efficiently manage their availability with the built-in calendar feature. They can block or unblock specific dates and times, giving them precise control over their schedules.
Okay, let’s monetize this lawyer appointment booking marketplace. There are two primary monetization methods for service marketplaces. We’ll take a look at the two most common:
Now, we’ll quickly guide you through setting up commissions for each successful booking on your website. To begin, install the HivePress Marketplace add-on, which is included with your MeetingHive theme. You can download it from your purchase email and install it in the WP Dashboard > Plugins > Add New > Upload Plugin section.
Once activated, go to HivePress > Settings > Vendors. Here, you can set two types of commissions:
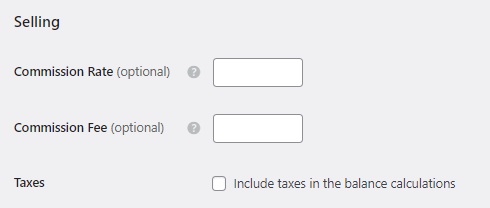
You can use either option or both at the same time. Additionally, you can apply these commissions to customers as well. To do this, visit the Users tab in HivePress > Settings. There is also an option to set individual commission rates at the vendor level, allowing you to offer attractive conditions for newcomers, such as not charging for the first bookings or applying a reduced fee.
Once you set up commissions, you’ll be able to take a cut from each successful transaction on your website. To learn more on how to set up commissions on your website, please check this doc.
First, you’ll need HivePress Memberships add-on.
Now, we have to create WooCommerce products that will be used for payments. Let’s add the first product, which will be used to charge lawyers for adding new listings. Go to WooCommerce > Products > Add New, provide a name (for example, “Premium”), set the price, and mark it as “Virtual”.
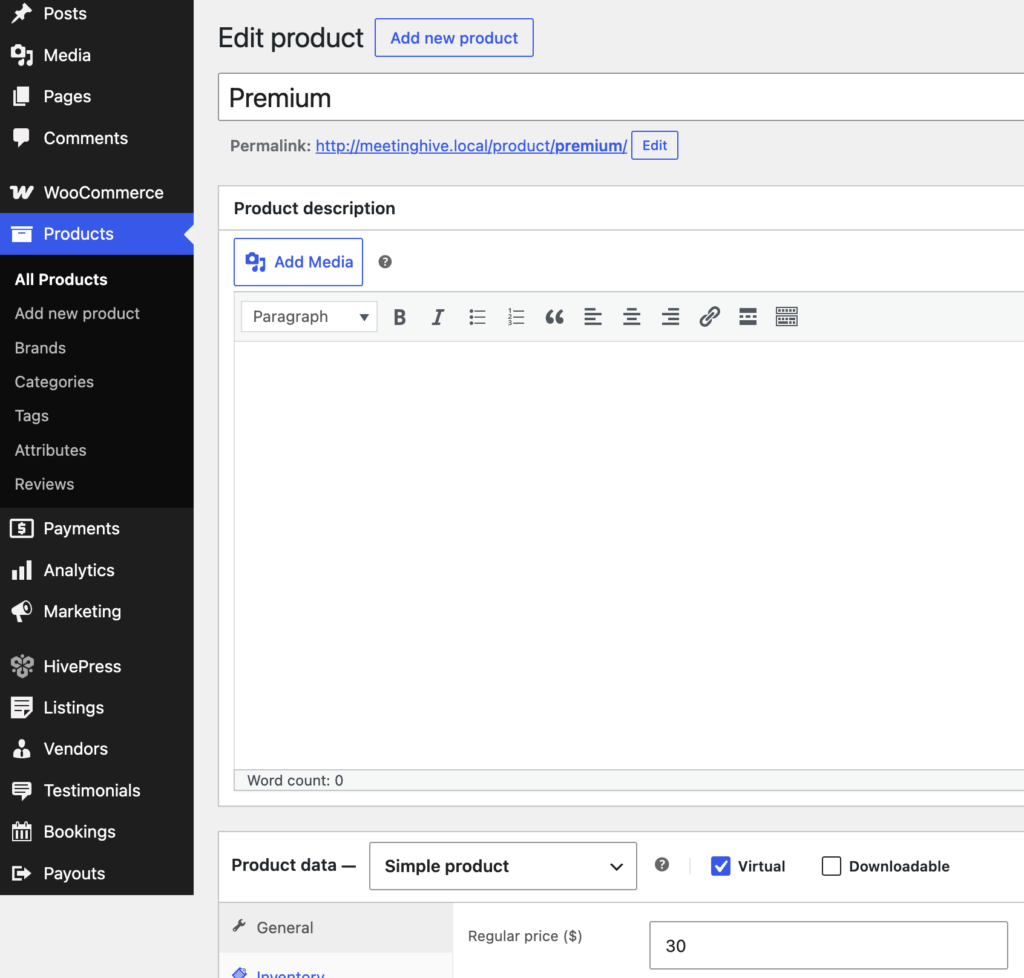
After this, click Publish.
Okay, let’s add some listing plans to make it possible to charge lawyers when they add new listings. Go to the WP Dashboard > Memberships > Plans section and click Add New. You can create many plans with different restrictions and prices, but for this tutorial, let’s create two of them: Free and Premium.
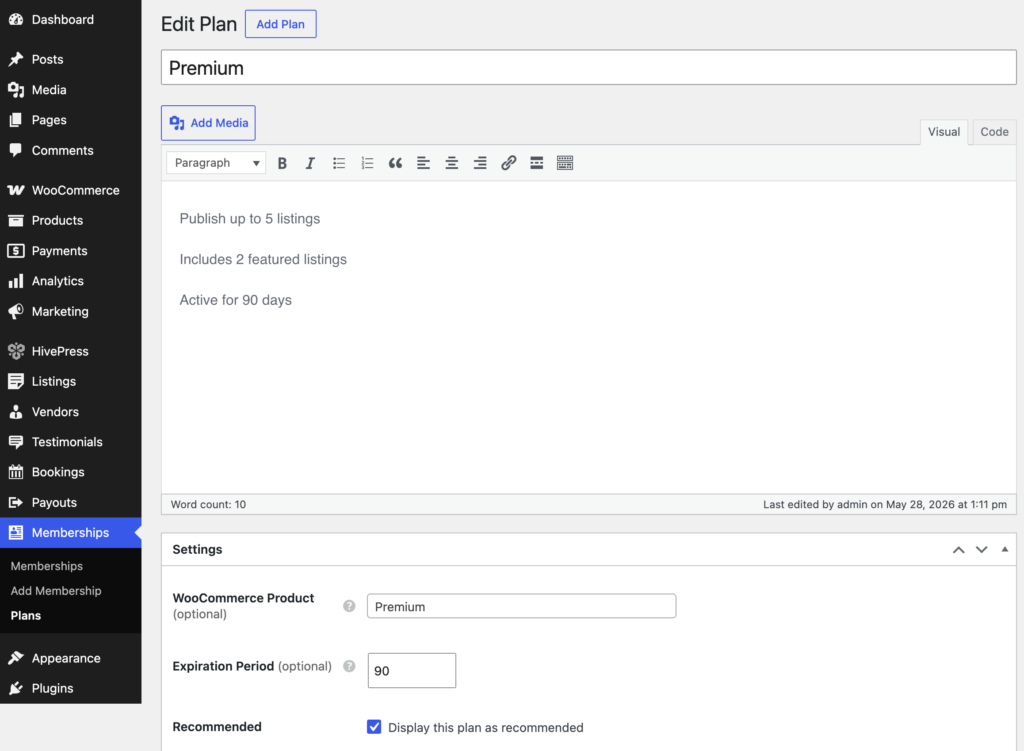
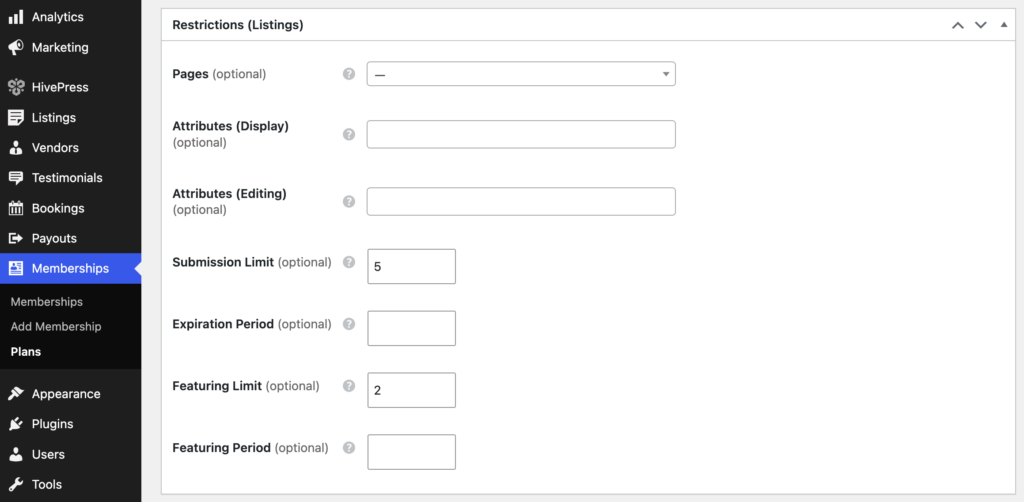
We’ll start with a Premium one. Name the plan, add a description, and specify the number of listings and features allowed. Also, you can set the listing expiration period. Then, select the corresponding WooCommerce product created earlier for packages. Finally, click Publish.
In the same way, add a Free plan without selecting a WooCommerce product.
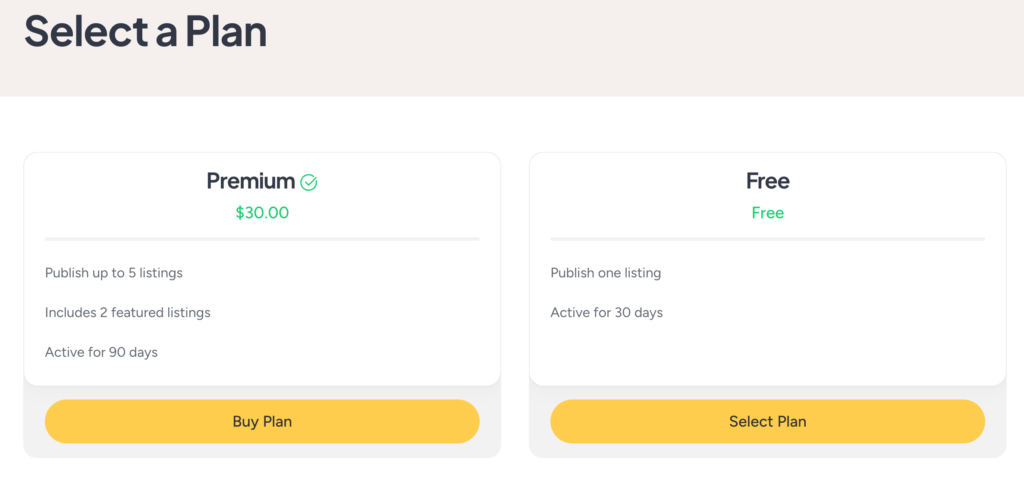
Now, let’s check how it works by going to our website and clicking the List a Service button or the star icon in your profile account > Listings section. After clicking either of these actions, you’ll be redirected to the plans selection page, and if you choose the Premium membership plan, you’ll be taken to the checkout page.
This is not the only functionality available in the Memberships plugin. You can also charge users for accessing contact details, restrict access to specific pages, or limit messaging features, among other options.
And that’s it! We hope this tutorial was useful to you and now you know how to launch a lawyer appointment website with WordPress. If you’re still on the fence about what theme to choose, you may consider using MeetingHive. It offers a comprehensive solution that is ready to use out of the box.
Additionally, you may want to check our articles on:
A quick guide on building your own stock media marketplace with WordPress.

A complete tutorial on how to add location search in WordPress.

A walkthrough on how to create a peer-to-peer service marketplace similar to Thumbtack or TaskRabbit.