
How To Create a Stock Media Website With WordPress [7 Steps]
A quick guide on building your own stock media marketplace with WordPress.
A short explanation on how to set up the HivePress Messages extension.

The ability to communicate directly through the website is crucial for any site since potential clients may have some pre-purchase questions or need a consultation about products and services, or simply need to send some notes. That’s why it’s necessary to provide website visitors with an option to communicate with each other through your website.
If you’ve already built a website using HivePress, and want to enable private messages, then this guide will be useful to you. We’ll show you step-by-step how to install and set up the HivePress Messages extension in order to allow users to send private messages and exchange attachments.
For the sake of this tutorial, we’ll use our service marketplace WordPress theme, TaskHive, with its demo content imported. However, if you are using any other of the HivePress themes, it’s not an issue at all since all HivePress products are fully compatible with each other.
Please note that this tutorial is only suitable for HivePress-built websites and won’t be helpful if your website is built with a different directory plugin.
Let’s start and move to the first step.
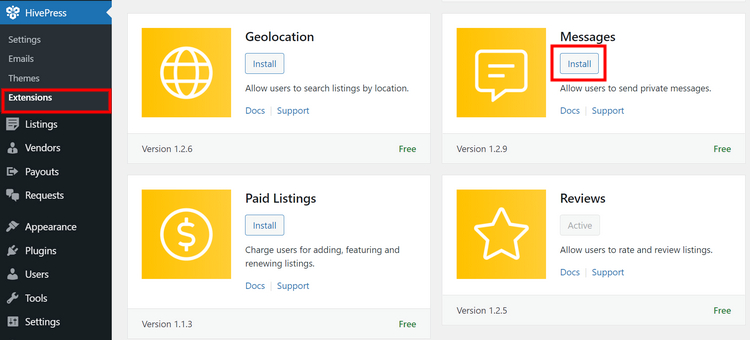
First of all, you need to install the Messages extension. To do that, navigate to the WP Dashboard > HivePress > Extensions section. You’ll see the whole list of the available extensions that you can add to your website if you want to extend its functionality. You need to locate the Messages extension, click on the Install button and proceed by activating it.
Similarly, you can install any HivePress extension that is necessary for your website. All of them are lightweight, easy to use and fully compatible with each other, so no tech issues will take place.
Once you install the add-on, you can adjust its settings in the WP Dashboard > HivePress > Settings > Messages section.
Firstly, you can enable the “Attachments” feature if you want to allow users to attach files to their messages. It’s a useful option since users often need to send bills, different samples, images, etc., during their communication. Also, bear in mind that you can set allowed file types that can be attached to messages. Simply choose the file types from the drop-down list and save changes.
Also, you may specify the blocked keywords and messages containing these keywords will be blocked (you need to enter each keyword on a new line).
In the last two fields (Storage & Storage Period), you can set up whether you want to store messages in the database, rather than sending them via email and indicate the storage period in days after which messages will be deleted.
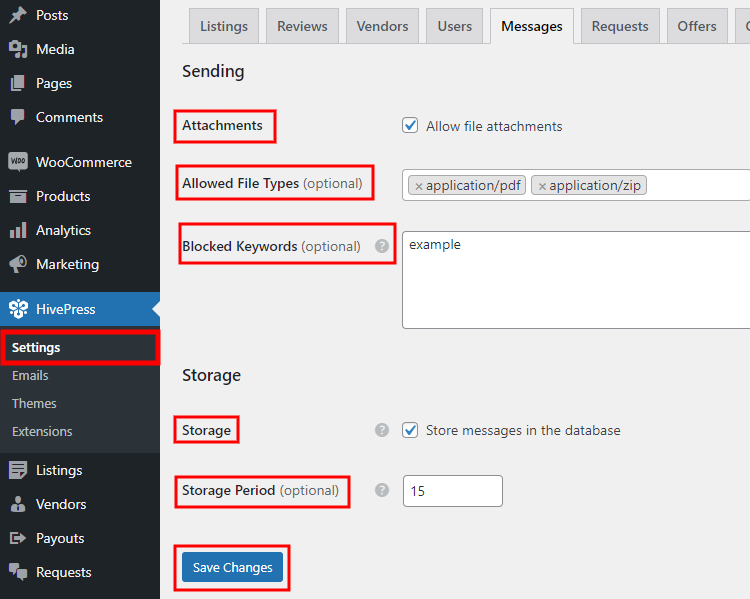
When finished, don’t forget to save changes.
Okay, we’ve just installed and set up the Messages extension, but let’s also check how it’s gonna work for users. Since we are using the TaskHive demo content in this guide, we’ll simply create a new account and try to send a message to any of the pre-made vendors. To do that, we need to log out from the admin account and register as а regular user. Then select any of the listings on the website and click on the Send Message button.

In the message window, users can enter the text and attach some fields if allowed. Also, if the admin restricted some keywords and a user tries to send a message containing such keywords, there will be a notice like on the screenshot below.
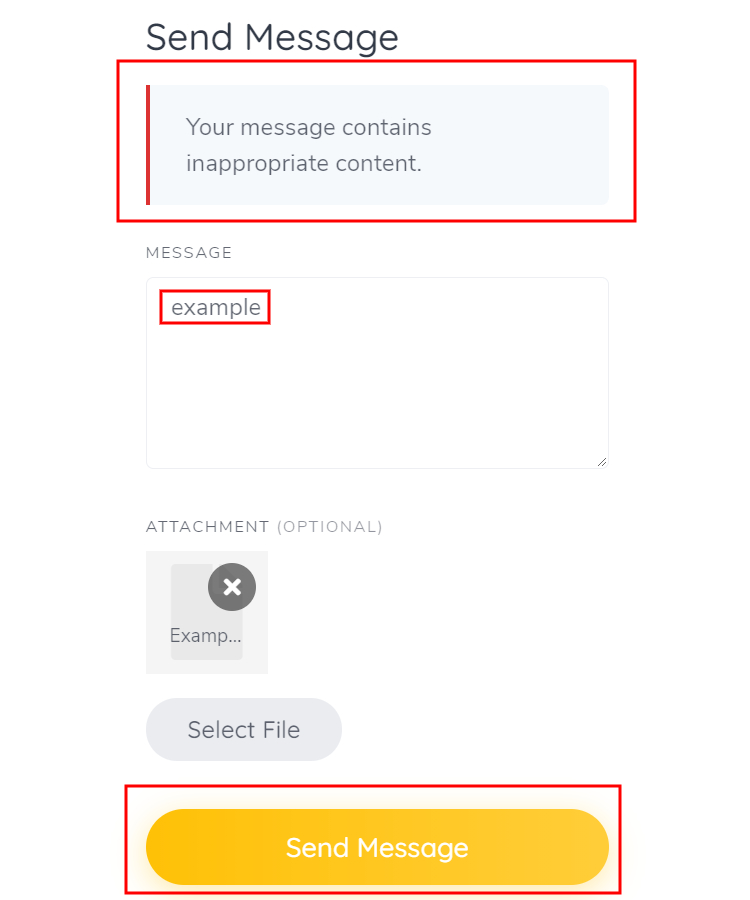
Once you enter the message and attach the file, simply click on the Send Message button. Now, let’s switch back to the admin’s account and check the received message in the My Account > Messages section.
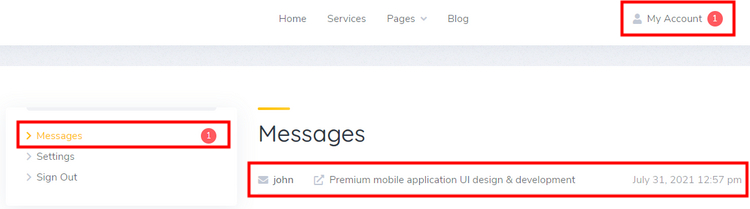
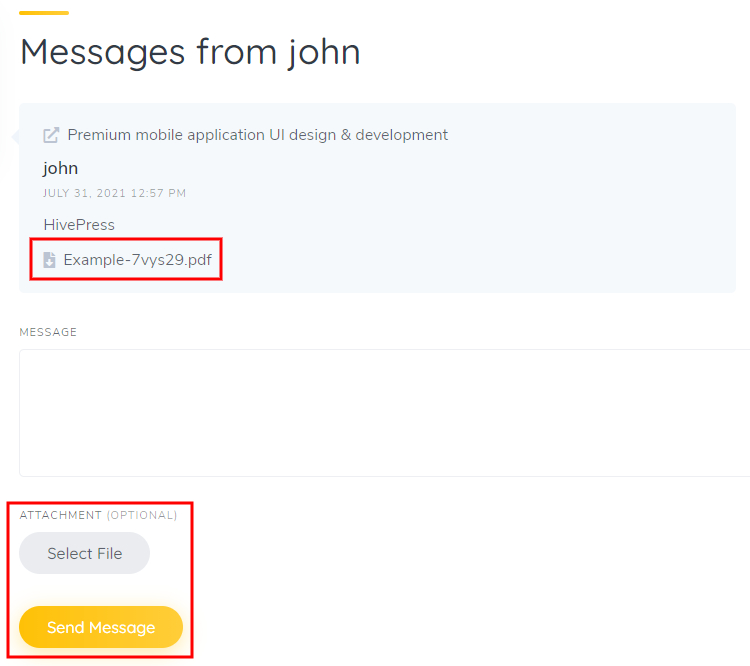
As you can see on the screenshot below, users can easily download the received attachments and send a reply.
Also, users receive email notifications about new messages and can follow the link to check them.

That’s it! As you can see, you don’t have to be computer-savvy in order to install and set up the Messages extension. Also, feel free to check the whole list of the available HivePress add-ons that you can install to extend your website’s core functionality.
Additionally, you may want to check our overviews of:
A quick guide on building your own stock media marketplace with WordPress.

A complete walkthrough on launching a property rental website like Vrbo.

Easily monetize your valuable content by creating a members-only directory.