
How to Speed up a HivePress-built Website
Skyrocket your WordPress website performance in a breeze.

Learn how to build a Chamber of Commerce website with WordPress using HivePress and RentalHive.

If you’re figuring out how to build a Chamber of Commerce website, start by thinking beyond the directory itself. A good Chamber website brings local businesses together, helps visitors discover members, promotes events and programs, and makes it easy for businesses to learn about membership and join.
In this guide, we’ll show you how to build this kind of website with WordPress and HivePress, a directory plugin and a no-code builder for listing websites.
Before opening your dashboard, spend a few minutes looking at chambers that already exist. Search for your own town’s chamber, or if you’re in a smaller area, look at the chamber for the biggest nearby city instead. Open a few of these sites side by side and take note of what they include.
Once you’ve looked at a handful of these sites, it’s clear that most are built around the same core: a business directory with a membership layer and events, supported by pages that explain the Chamber’s services and benefits. That combination is exactly what HivePress and its extensions are built for. So, instead of thinking of your Chamber website as just a directory, plan it as a business community hub. Once you know what you need, the actual setup is straightforward.
Some basics apply to any WordPress website, so you’ll need a domain name, WordPress hosting, and WordPress itself.
And here’s what’s specific to a chamber of commerce site:
With that shopping list ready, let’s start building.
Choose a host that offers good performance without a steep learning curve. Most managed WordPress hosts include a one-click installer, so setting up WordPress itself only takes a few minutes. Keep an eye on renewal pricing too, since some hosts offer a low first-year rate that jumps significantly after that.
From your WordPress dashboard, go to Plugins > Add New, search for “HivePress,” and install and activate the free plugin. You can also download HivePress directly from the WordPress plugin repository and upload it to your site. This is the engine that will power your member listings, search, and profile pages.
Once it’s active, head to HivePress > Extensions to see what’s available.
HivePress separates the directory functionality from the design, so you’re not locked into a specific look. You can choose any HivePress-compatible theme from the official HivePress collection or a third-party theme and customize it to match your Chamber’s branding and content.
For this guide, we’re using RentalHive. Despite its name and rental-focused demo, RentalHive isn’t limited to rental websites. It’s a flexible theme that can be adapted to different types of directory and listing websites. Its large image-focused sections are particularly useful for a Chamber website, as they give you more space to showcase member businesses, events, programs, and other important content.

So don’t let the name RentalHive put you off. The theme provides the design, while HivePress and its extensions provide the directory functionality you need to build your Chamber website.
Import the demo content if you’d like a working layout to customize rather than starting from a blank page. Even though the demo is built around property listings, it’s usually much easier to adapt an existing layout than to build everything from scratch. You can create new pages, rename categories and attributes, replace the demo content, and adjust the sections to fit your Chamber of Commerce website.
This is where the earlier research pays off. Before you start building, map out the pages your Chamber website will need. Beyond the standard Home, About, and Contact pages, most Chamber websites rely on a few key sections:
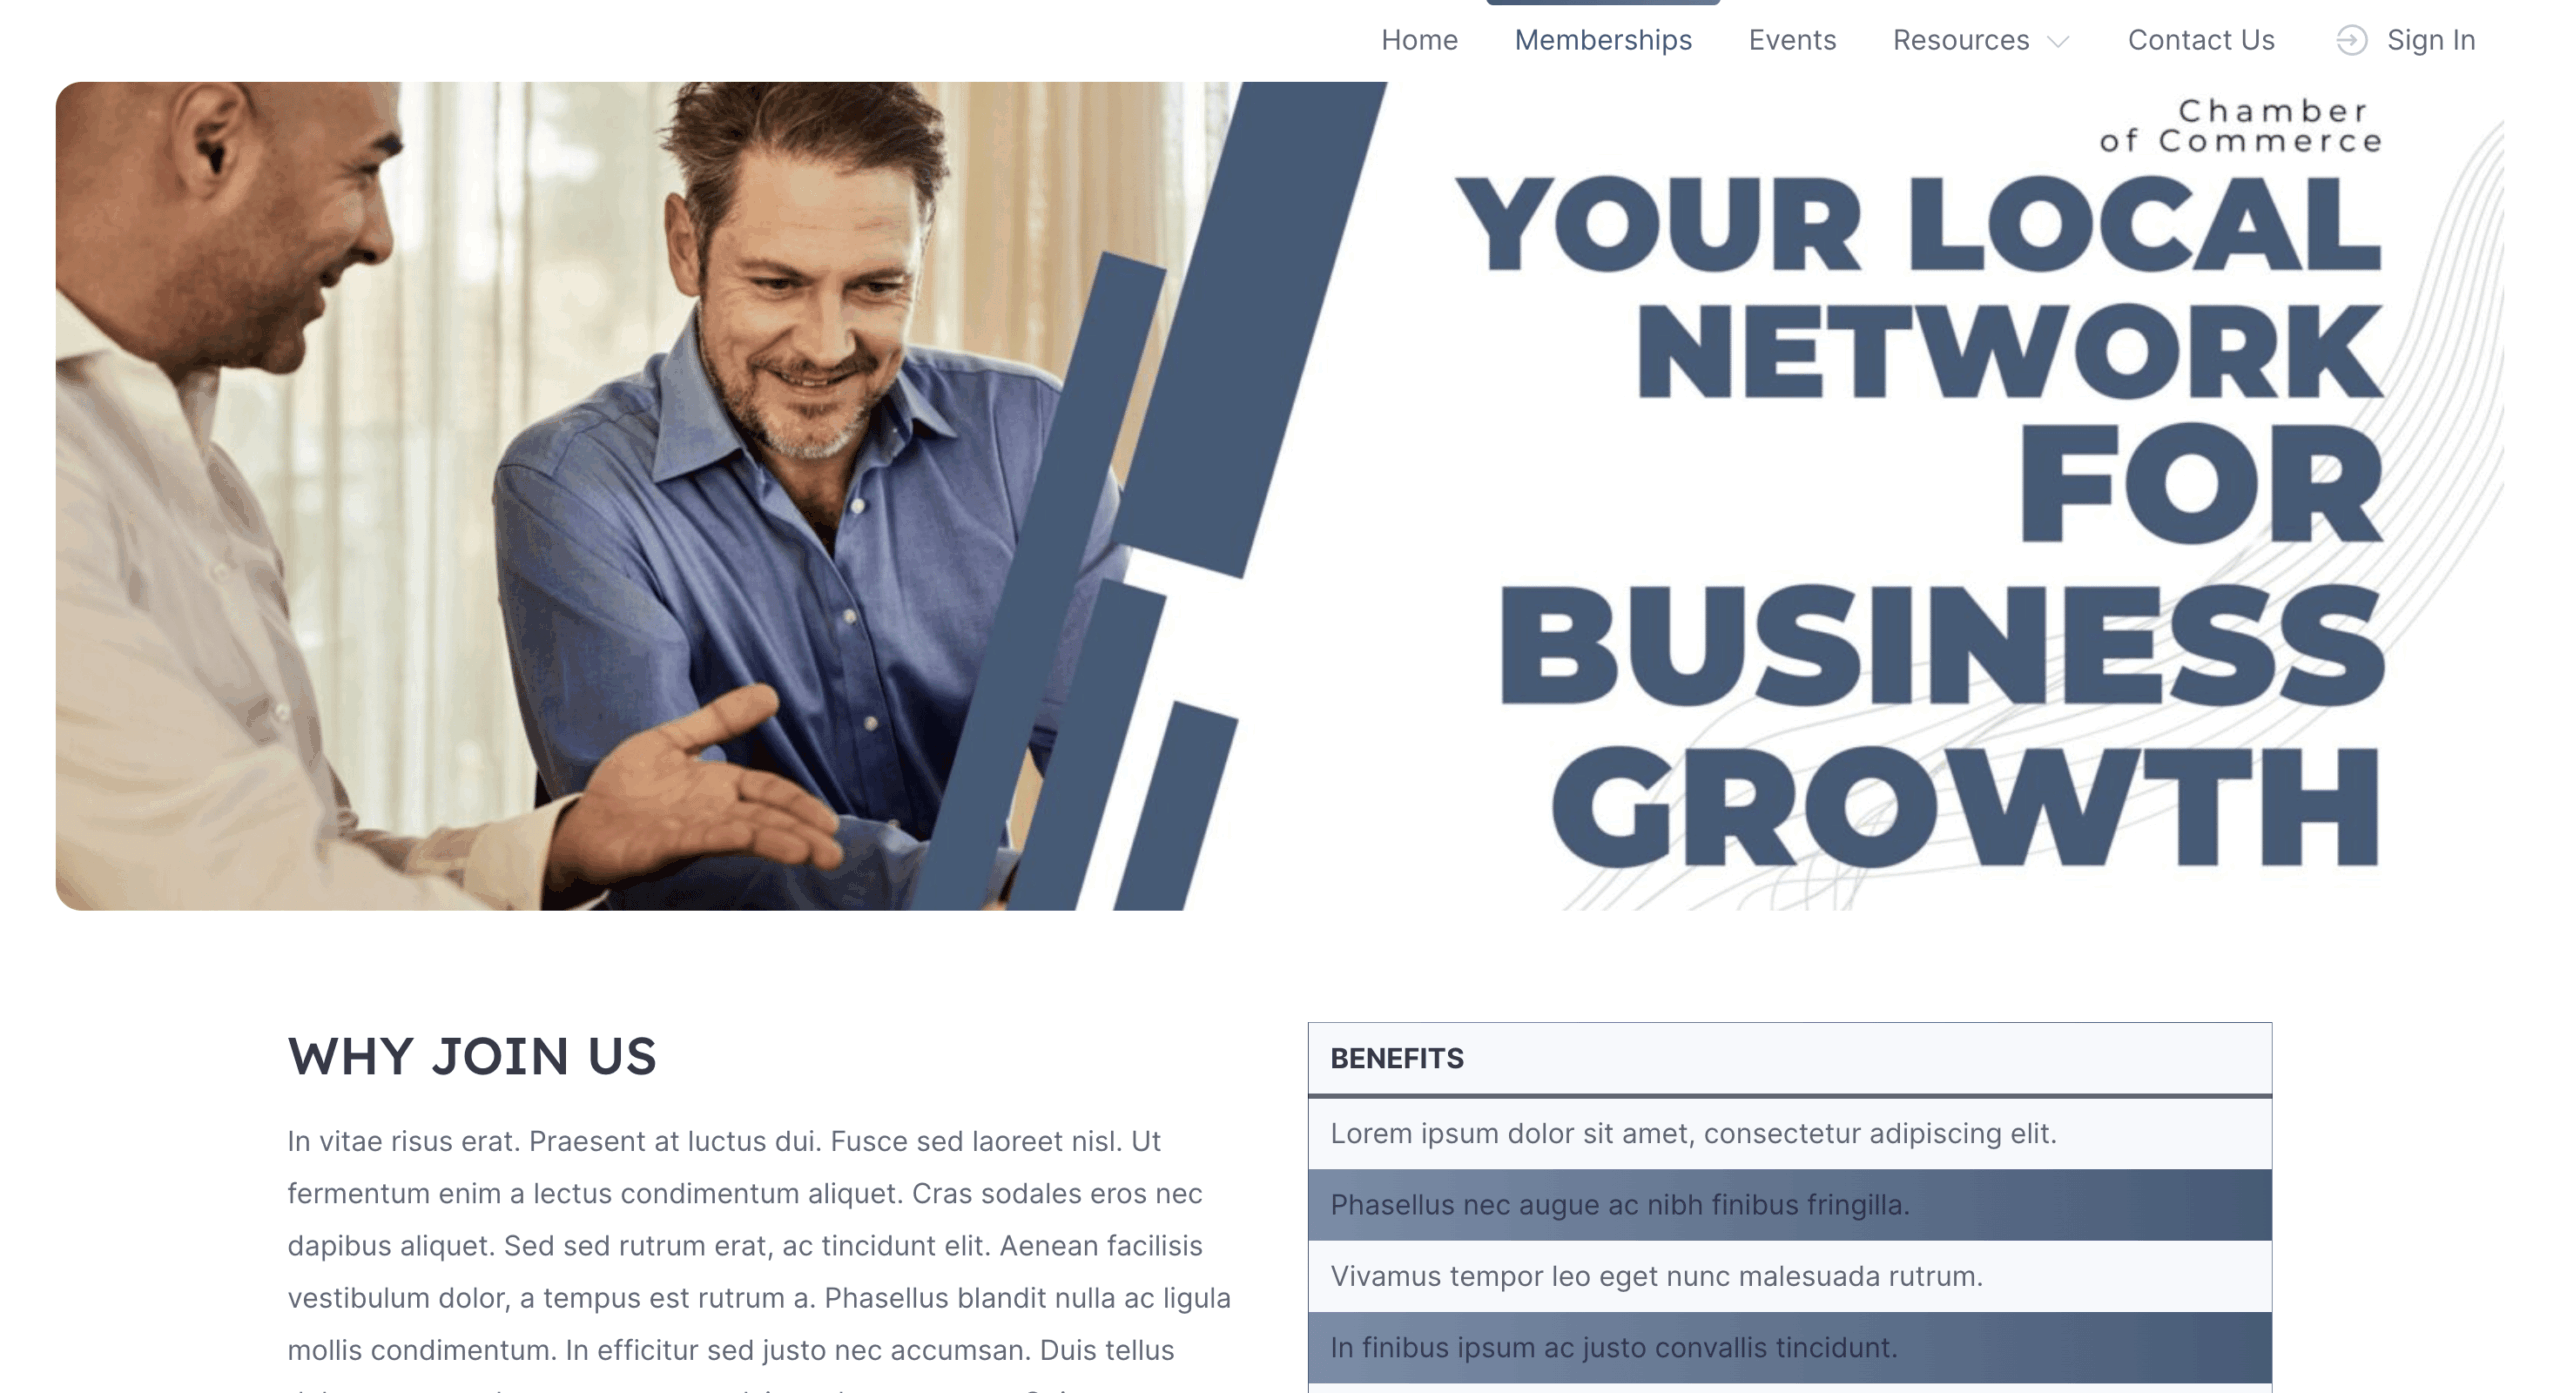
You can create these pages from WordPress Dashboard > Pages > Add New and then add them to the appropriate navigation locations under Appearance > Menus. Keep the most important pages, such as the directory, membership, and events, easy to find in the header, while placing less prominent pages such as legal information in the footer.
Categories are what keep your site organized, and you’ll rely on the same category structure for both your member directory and your dedicated Events page. Categories are how visitors will browse your site, so it’s worth planning them before you add a single listing.
Go to Listings > Categories and set up broad groups that reflect your local business community: Retail, Professional Services, Restaurants & Hospitality, Healthcare, Construction & Trades, Manufacturing, and Nonprofits are common starting points. Add subcategories where it makes sense, like breaking Professional Services into Legal, Accounting, and Marketing.
Events work the same way, just as another category. Create an “Events” category, then go to HivePress > Settings > Bookings and limit the booking feature to that category. Each event listing can then be booked for the day it’s held, and members and visitors can request or confirm their spot the same way. Pair it with the Marketplace extension if you’d like to sell paid tickets.
You can also assign custom fields to each category, so Events can have fields like date and theme while Retail has fields like store hours or product type. These custom fields are called attributes in HivePress, and you can create and manage them under Listings > Attributes. If you want to go deeper into how attributes work, from editable fields to search filters and display options, check out HivePress’s own guide on adding listing attributes. Visitors browsing the Events category will then see filters built from those exact fields, letting them narrow events down by date or theme, while someone browsing Retail sees filters that actually make sense for a shop.
Since every category has its own dedicated link, you can pull Events out of the main directory and give it its own spot in your navigation instead of leaving it buried inside the listings page. Go to Appearance > Menus, select your header menu, and add a custom link pointing to the Events category page.
RentalHive and HivePress build pages using a flexible block-based layout, so you’re not limited to the default design. Go to HivePress > Templates and create a new template for the page you want to customize. From there, you can rearrange the existing blocks, remove anything you don’t need, and add new ones to control exactly how content such as listing images, titles, attributes, and other details appear.
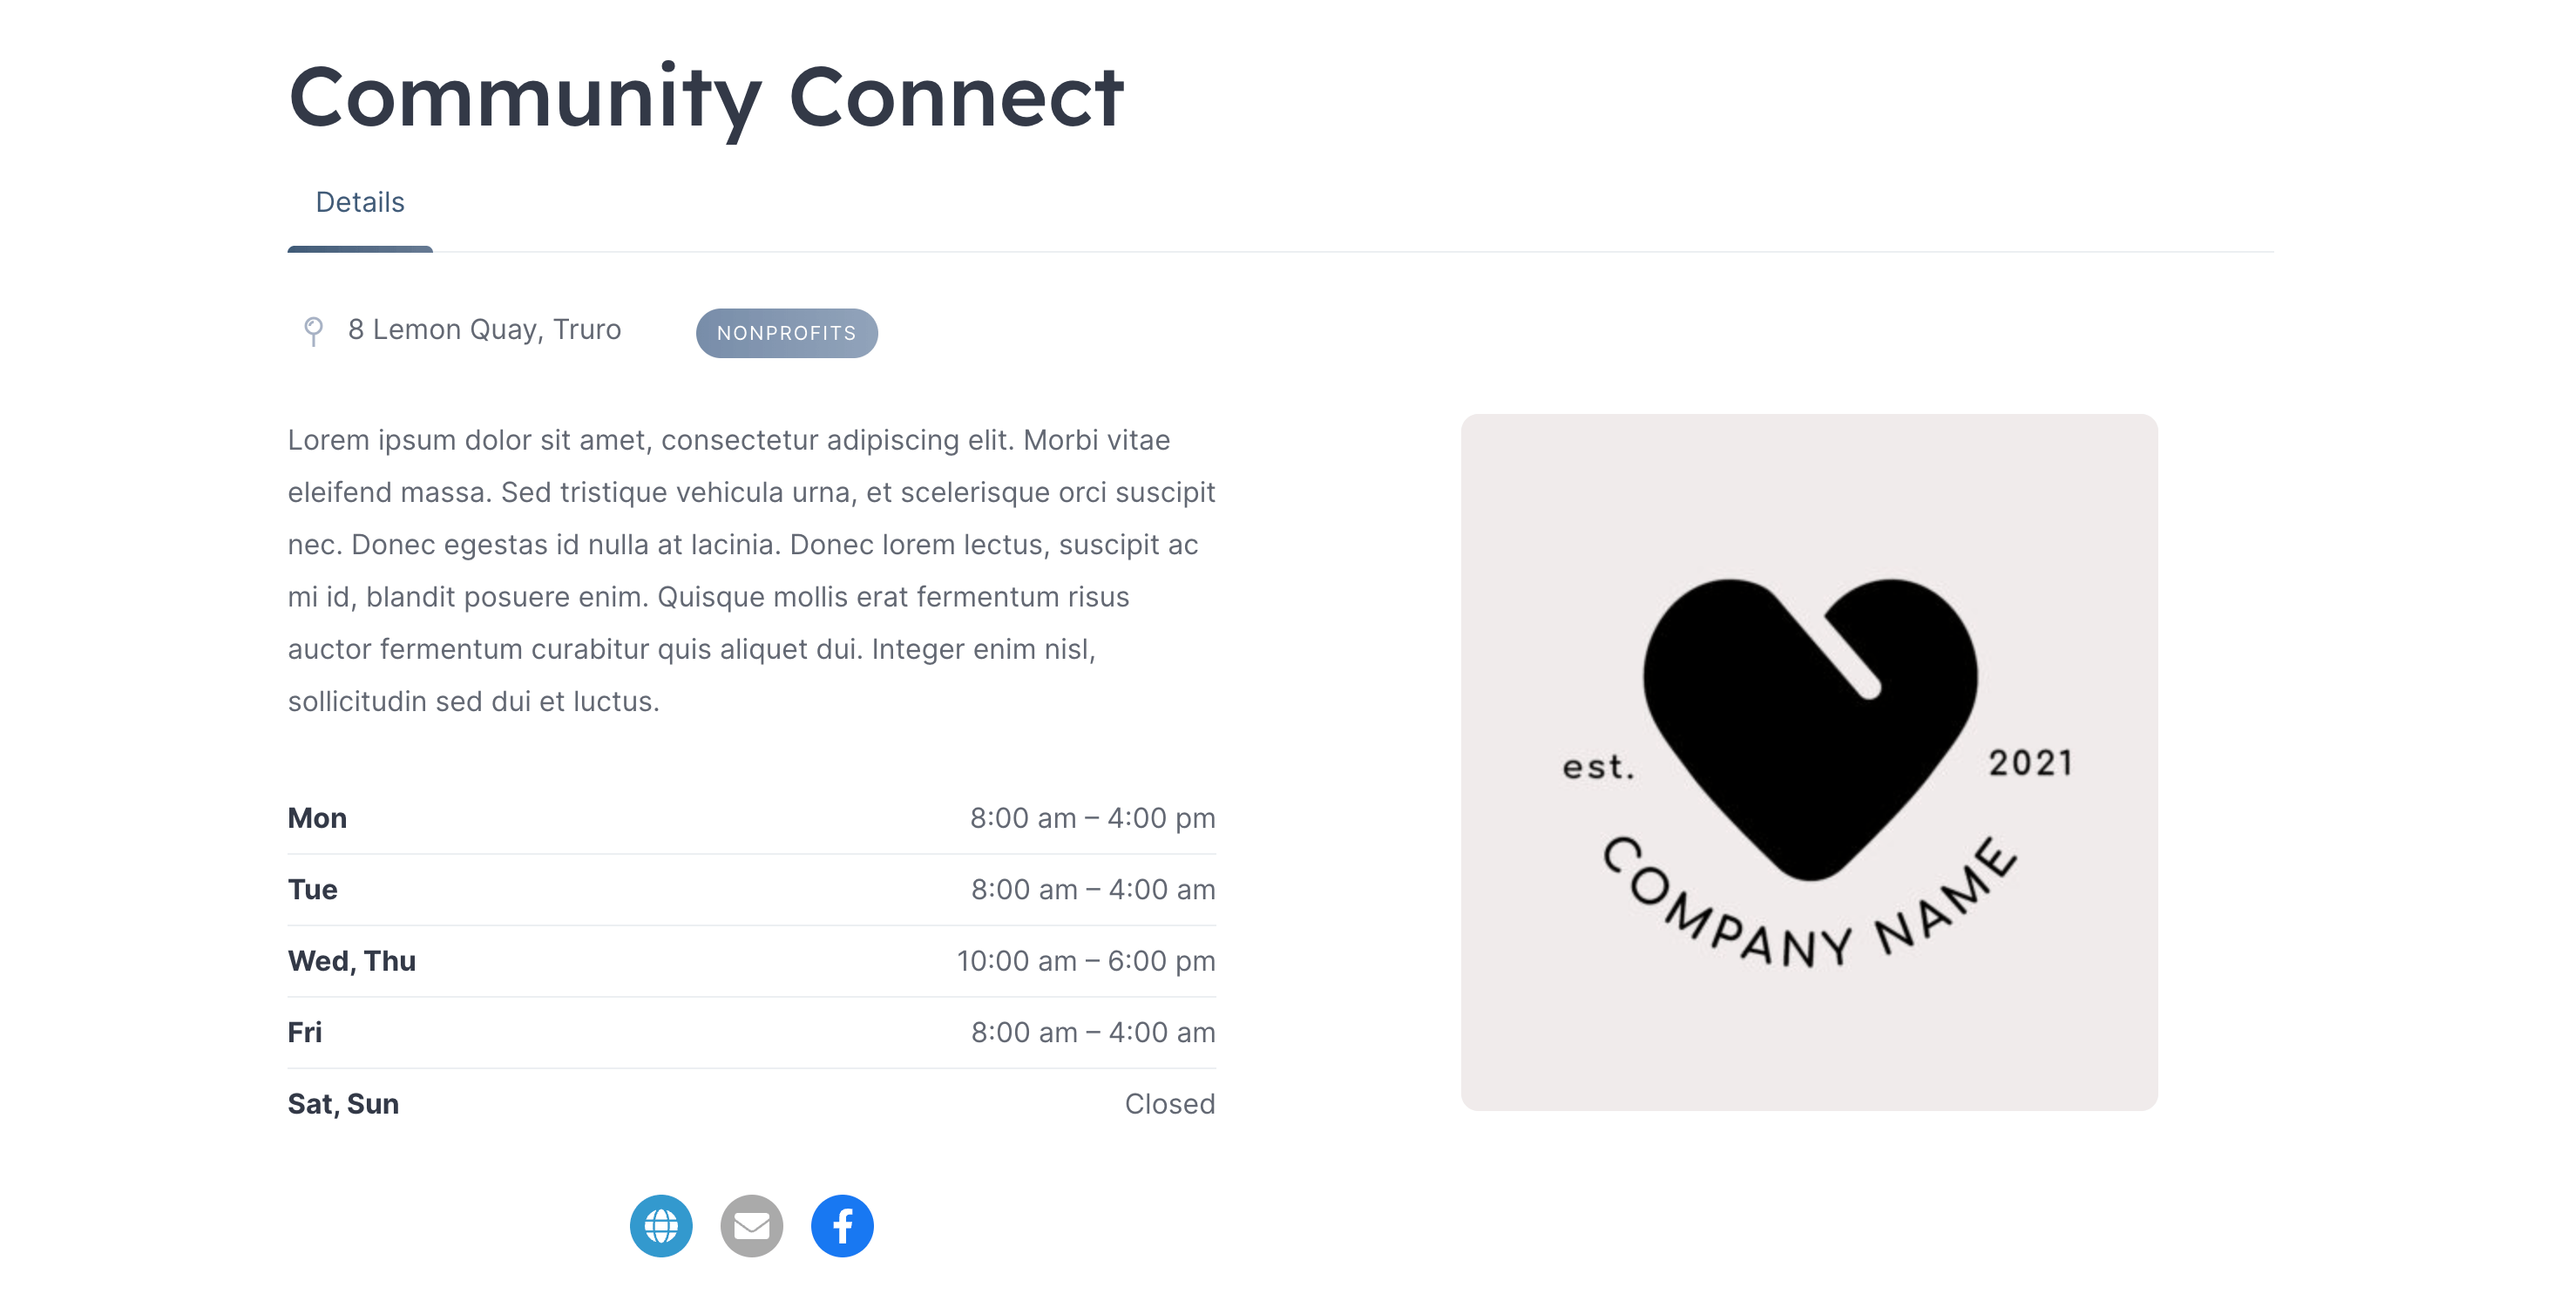
Complement your base setup with the plugins we mentioned earlier, plus anything else you find useful along the way, like a caching plugin such as LiteSpeed Cache for performance, or a backup plugin for peace of mind.
An empty directory won’t convince anyone to join. Reach out to businesses you already know and offer a free founding listing while you’re testing the site. Aim for at least 15 to 20 solid profiles with real photos, descriptions, and contact details before you promote the site publicly.
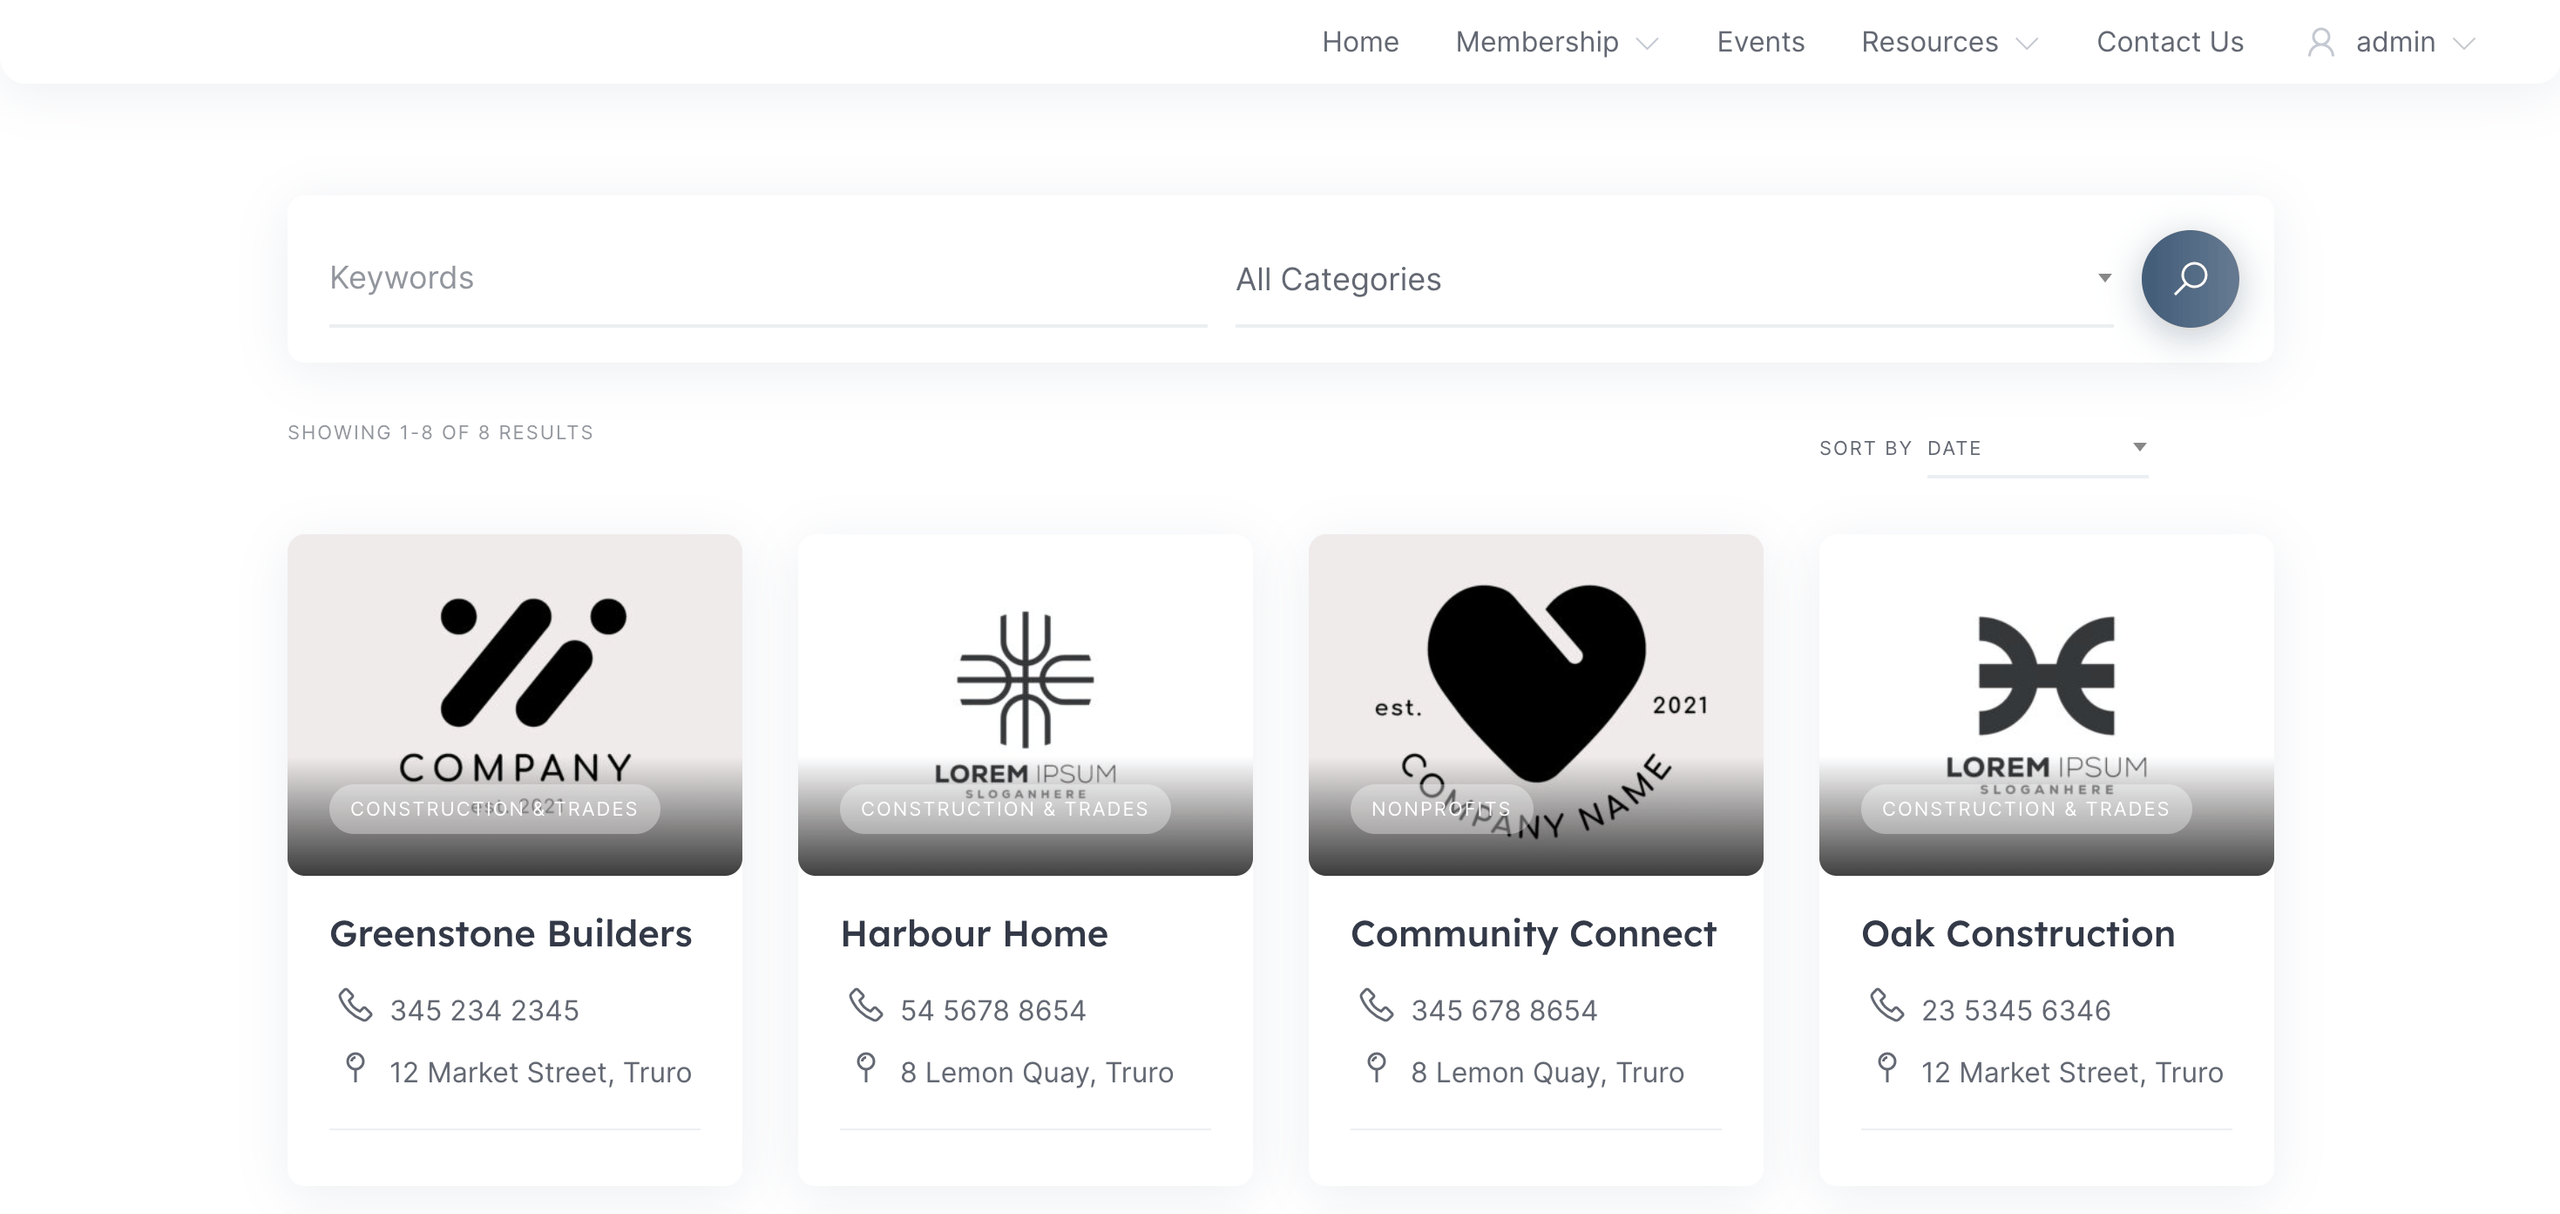
Sign up as a test member and go through the whole process: submitting a listing, registering for an event, sending a message. Check that confirmation emails actually arrive, browse the directory on a phone, and try the search and filters. Small friction points here turn into support tickets later, so it’s worth catching them now.
Once your site is live, take a look at our guide on how to speed up a directory or marketplace website. Directory sites tend to load a lot of images and search queries, so a bit of tuning here goes a long way.
Once your Chamber website is attracting local businesses and visitors, you can use it to generate revenue that supports the organization. The right model depends on what you want to offer members, and you can combine several approaches rather than relying on a single income stream.
Membership fees are the most natural starting point. With the Memberships extension, you can create different plans with benefits such as directory listings, featured placement, exclusive resources, or member-only content.
You can also keep the directory open to everyone and charge for premium visibility, such as featured listings or homepage placements.
Other options include sponsorship opportunities, such as featured businesses, event promotions, or homepage banners.
Start with a simple pricing structure and a few clear benefits. You can expand your offers as your Chamber grows.
Launching is just the start. Show up at local business gatherings and mention the site directly, since word of mouth still works well in a chamber setting. Publish a short blog post each time a new business joins or an event wraps up. Send a simple monthly newsletter to members with upcoming events and new listings. And keep an eye on which categories or events get the most traffic, since that tells you where to focus next.
By now, you should have the core pieces of a working Chamber of Commerce website in place.
As the site grows, keep refining it around what your members actually use. Review your membership plans regularly, look at which events attract the most registrations, and ask members for feedback on submitting listings, managing profiles, and signing up for events.
A Chamber website doesn’t need to be complicated to be useful. Get the core pieces working well together, keep the information up to date, and build on what your members and community find most valuable.
And if a chamber site isn’t your only idea, or you’re curious what else HivePress can power, take a look at our directory website niche ideas for inspiration on what to build next.

Skyrocket your WordPress website performance in a breeze.

Build & monetize your own restaurant listing website with WordPress for free.

Build a neighborhood directory in hours with WordPress and HivePress. No coding, minimal cost, maximum community impact.