
How to Create a Salon Directory with WordPress?
An easy guide on how to start a WordPress salon directory website.
A short tutorial on how to create a pet services website with WordPress.

Caring for our little furry friends can sometimes be challenging, while the search for good pet specialists is time-consuming. That’s why people often turn to online platforms to find some pet care services. In this step-by-step guide, we’ll show you how to create a pet care website with WordPress where customers can get in touch with service providers easily.
Pet care websites are online platforms that cater to the needs of pet owners searching for pet care services and specialists who provide them. There are two types of such websites:
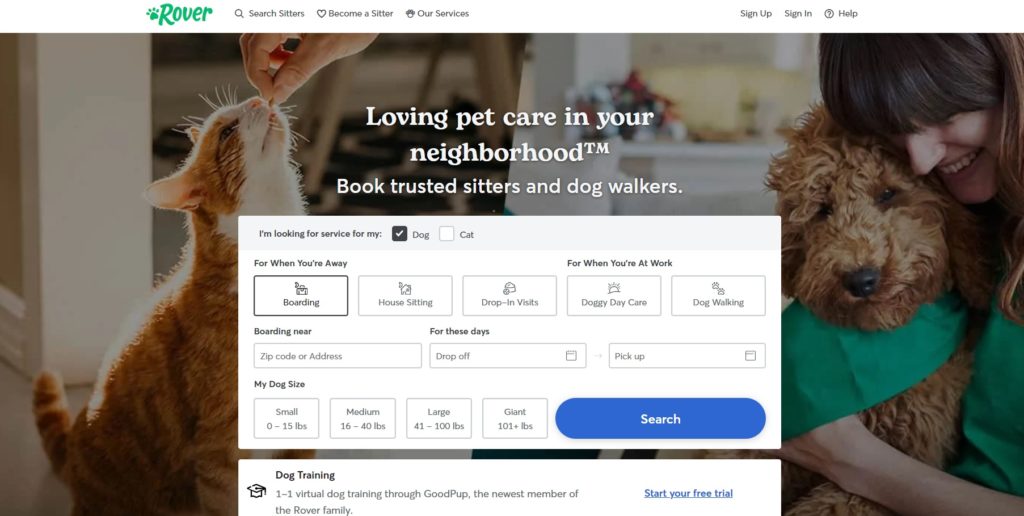
The first one is typically operated by pet care companies or clinics, including veterinarians, pet stores, and grooming salons. The second one serves as a hub for connecting pet owners with a network of service providers – these platforms allow pet owners to browse, book, and review the services offered by various pet professionals. One notable example of a pet care marketplace is Rover.
Before starting the creation of your pet care website with WordPress, ensure you have the essential prerequisites in place:
In this tutorial, we’ll use ExpertHive, a robust service marketplace WordPress theme, along with the free HivePress plugin, designed to power the marketplace aspects of your site.
With all foundational elements in place, we’re all set to begin creating a pet care services website.
To get started, let’s install the ExpertHive theme. Navigate to the Appearance > Themes > Add New > Upload Theme page in your WordPress Dashboard. Upload the theme’s ZIP file, then install and activate it.
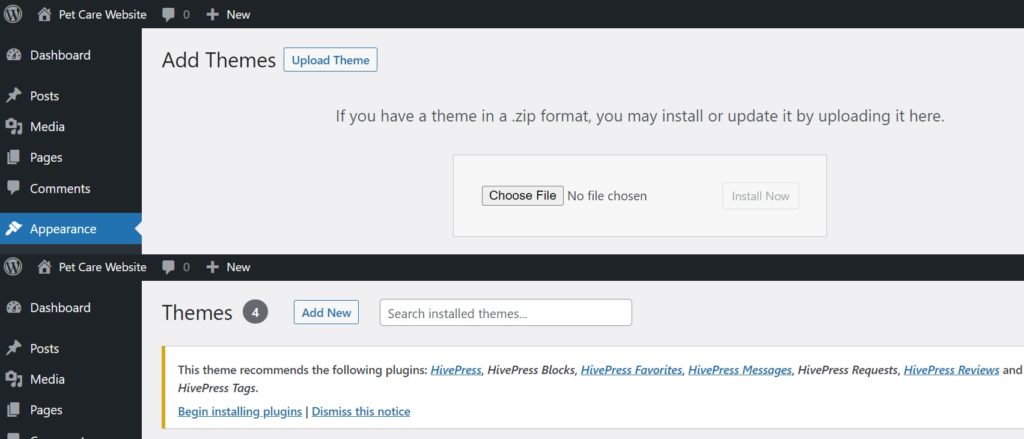
After successfully activating the theme, the next step is to install the recommended plugins, including HivePress, a multipurpose plugin that will handle most of the website features. Simply follow the provided link to do it.
Additionally, you need to install WooCommerce, the most popular e-commerce WordPress plugin, to add e-commerce features, such as charging users online, to your site. Once you install all essential elements, you can move on to the next step.
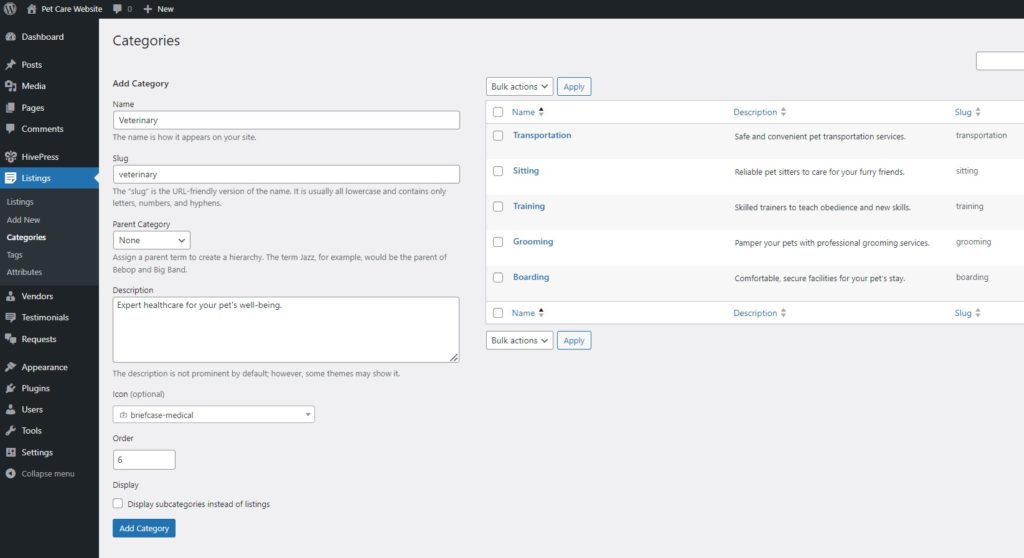
Next, it’s necessary to create listing categories to help visitors navigate your site and find pet professionals easily. To do this, go to WP Dashboard > Listings > Categories. Here, you can create both main categories and subcategories to provide a well-organized structure.
For example, let’s add some core categories: boarding, grooming, training, sitting, transportation, and veterinary. Start by giving each category a name. You can also add a brief description and, if needed, select a parent category to create a hierarchical structure. Also, you can choose a suitable category icon.
Once you’ve entered the necessary information, click the Add Category button.
Keep in mind that you can add as many categories as required by following the same steps.
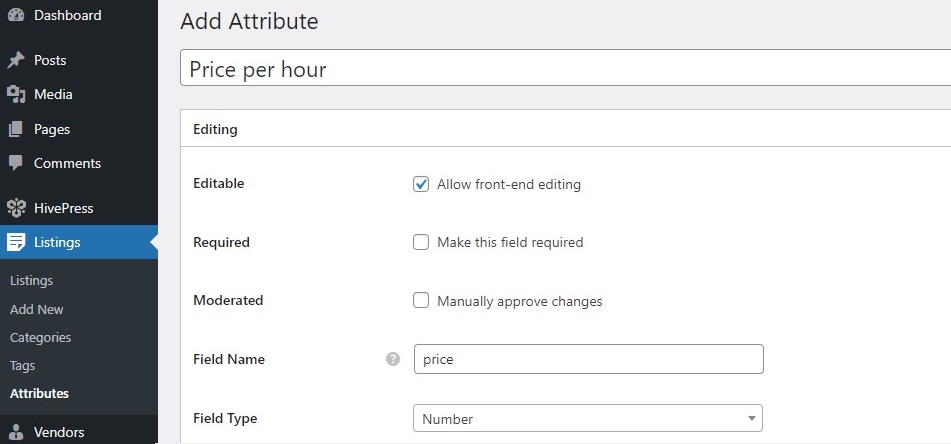
After adding categories, the next step is to create custom listing fields. HivePress allows you to create different fields and search filters since it has no hard-coded fields. Let’s add a “Price per hour” field as an example (check out this doc on how to set up attributes).
To do this, go to the Listings > Attributes section and click Add New. Enter a name for the field and enable front-end editing so users can enter prices while creating their listings. For this particular field, select the “Number” field type.
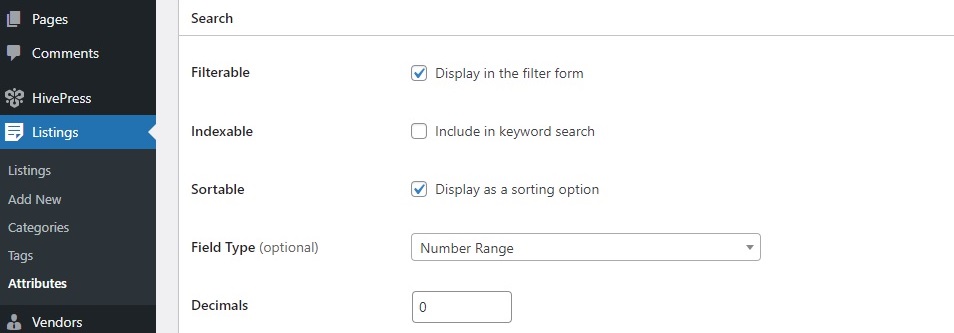
In the Search section, you can allow users to search and filter listings based on the value of the custom field. To do this, mark your field as filterable and sortable. It’s also best to use the “Number Range” field type. This way, users will be able to filter prices not by a specific price but by a price range.
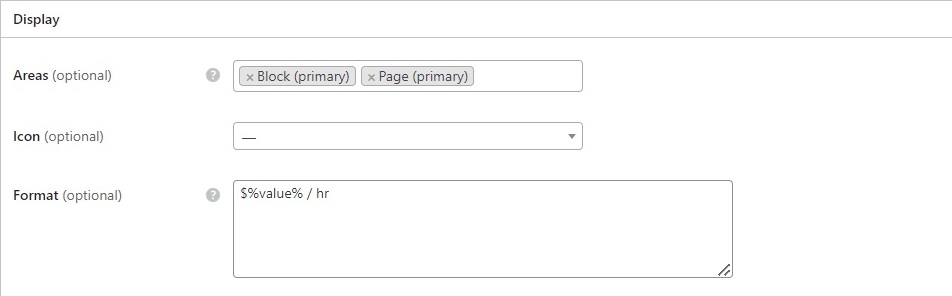
In the Display section, you can specify where you want the field to be displayed. For example, choose Block (primary) and Page (primary) as placement areas. Then, define a display format for the field. You can use this one: $%value% / hr.
When you’re done, click the Publish button. Remember, you can create as many custom fields as you need by repeating these steps. For example, you can also create such fields as “Working hours”, “Working days”, “Payment method”, “Pet types”, “Contact number”, and so on.
With ExpertHive, you can create vendor profile fields, too. This way, when vendors set up their accounts, they’ll be asked for the necessary information – this could include details like age or experience. Visitors will benefit from this because they will be able to review different professionals and make informed decisions about who to work with.
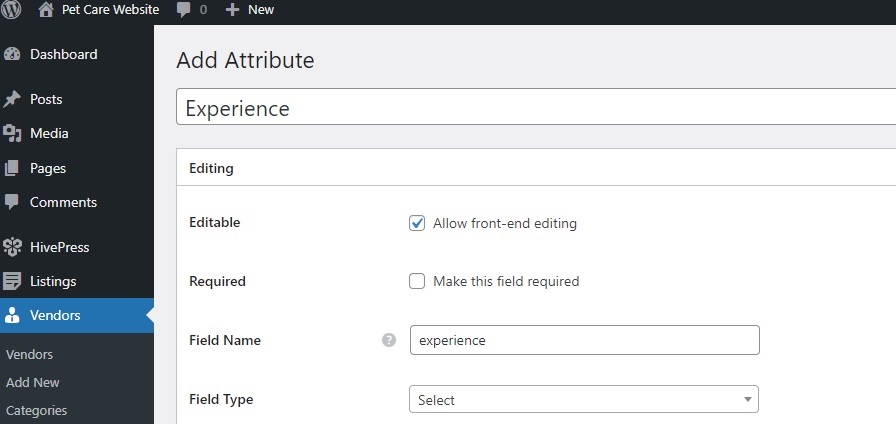
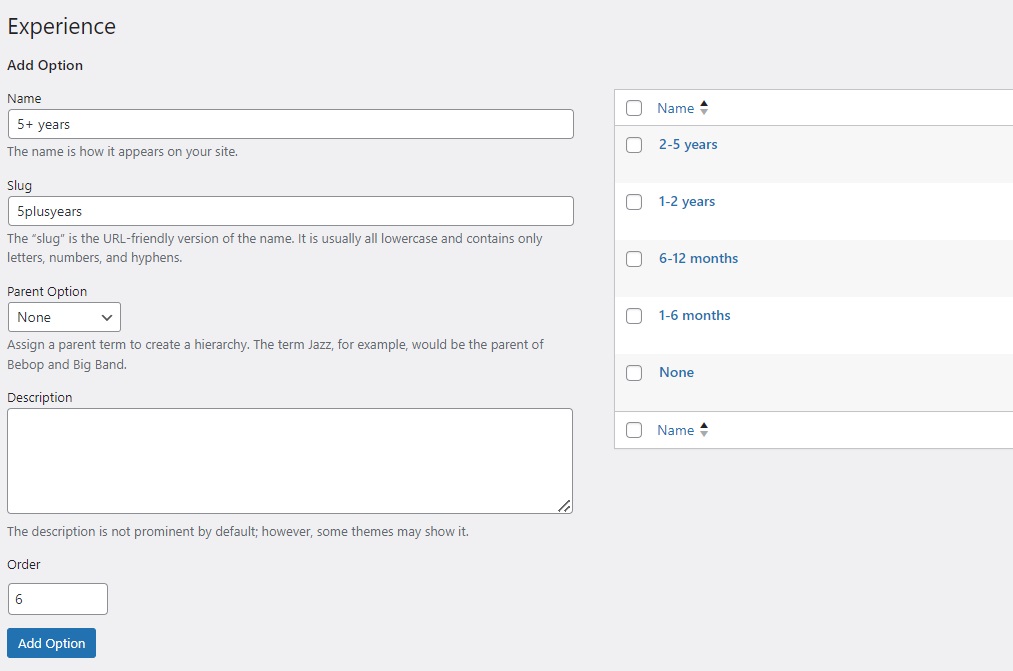
To add a vendor field, go to WP Dashboard > Vendors > Attributes and click Add New. For instance, if you’re building a pet care marketplace, you can add such fields as “Experience” or “Pet Preferences”. Let’s add the “Experience” one.
The process is similar to listing fields. However, here, we’ll choose the “Select” field type to let vendors choose the appropriate experience period from the list of available options.
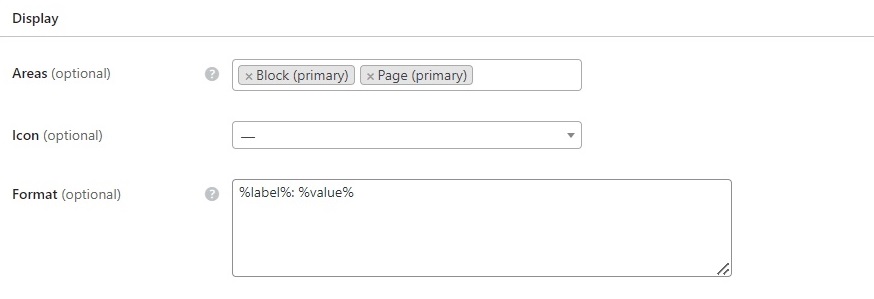
Also, in the Display section, we’ll use this format: %label%: %value%.
After clicking the Publish button, the Edit Options button will appear. Here, you need to provide options for vendors to choose from.
If you want additional features on your site, you should check out HivePress extensions. They are available in the WP Dashboard > HivePress > Extensions section. For instance, for a pet care website, consider installing:
Also, keep in mind that all HivePress extensions are totally compatible with each other, so you can use any of them on your pet care website.
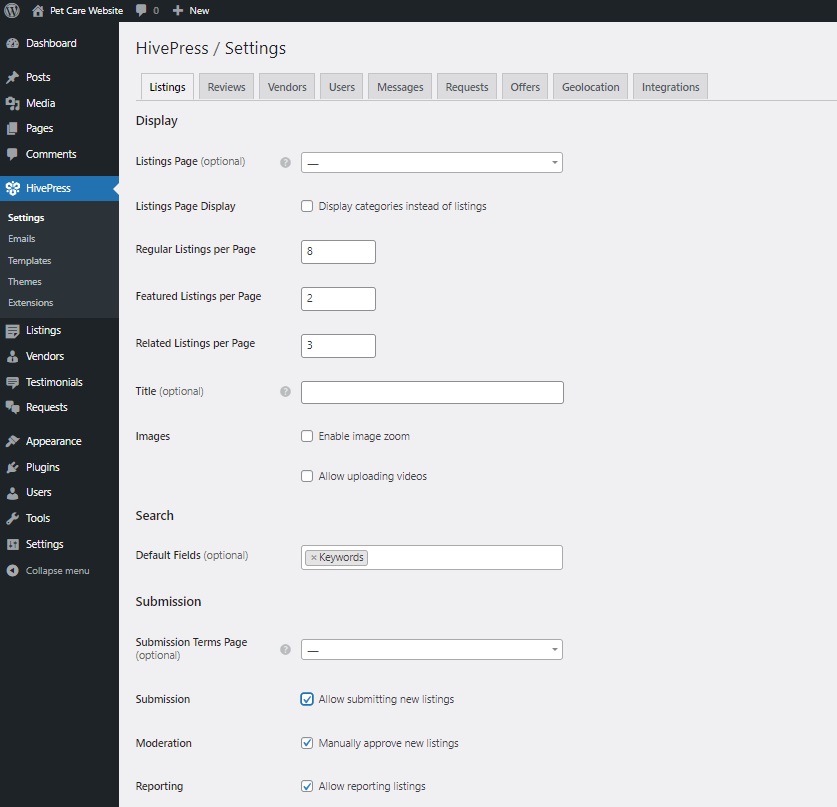
Next, you should fine-tune the settings in the WP Dashboard > HivePress > Settings section to ensure your pet care website operates smoothly. We recommend reviewing all the settings, but let’s focus on a few key ones.
In the Listings tab, you can control user listing submissions by turning the Submission option on or off. This choice depends on whether you’re going to run a single-vendor website or a marketplace that allows many users to post listings.
If you installed the Geolocation extension, you must also set it up. Generally, there are two map providers in HivePress, Google Maps and Mapbox. We recommend selecting Mapbox as your map provider in the Geolocation tab.
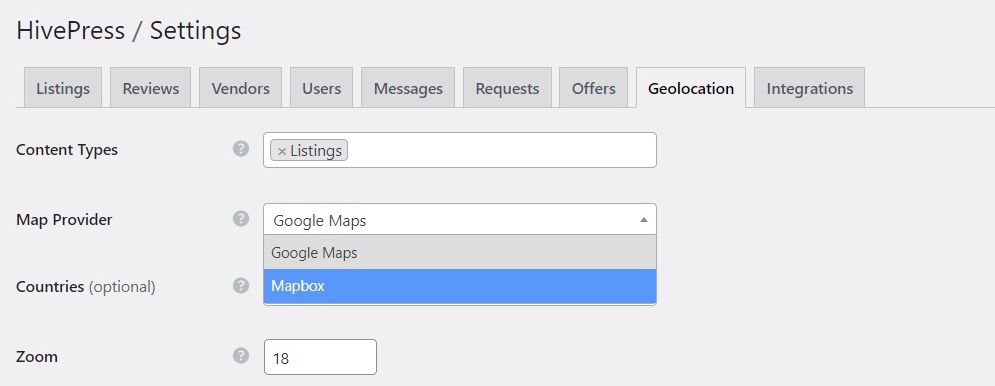
Then, you’ll need to get the Mapbox API key and insert it in the Integrations tab. Once you add the key, the geolocation feature will start working on your pet care website.
Now, you need to create an appealing homepage since it’s the “face” of your website. Go to WP Dashboard > Pages > Add New. Give your page a title, for instance, “Home,” and start adding blocks. You can insert the Listing Search Form block by selecting it from the available options when you click on the “Plus” icon. In a similar way, you can add your categories to the homepage using the Listing Categories block. To see all HivePress blocks, simply type “HivePress” in the search bar. After you’ve finished, click the Publish button.
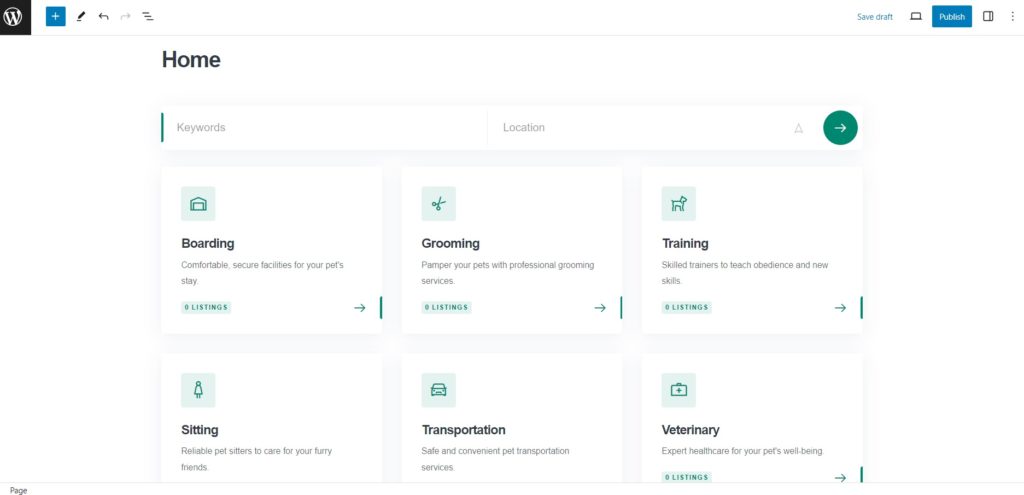
To set this page as your homepage, go to WP Dashboard > Settings > Reading, and select it from the drop-down menu, then save your changes.
Simple as that! To customize your website’s look further, feel free to check this video:
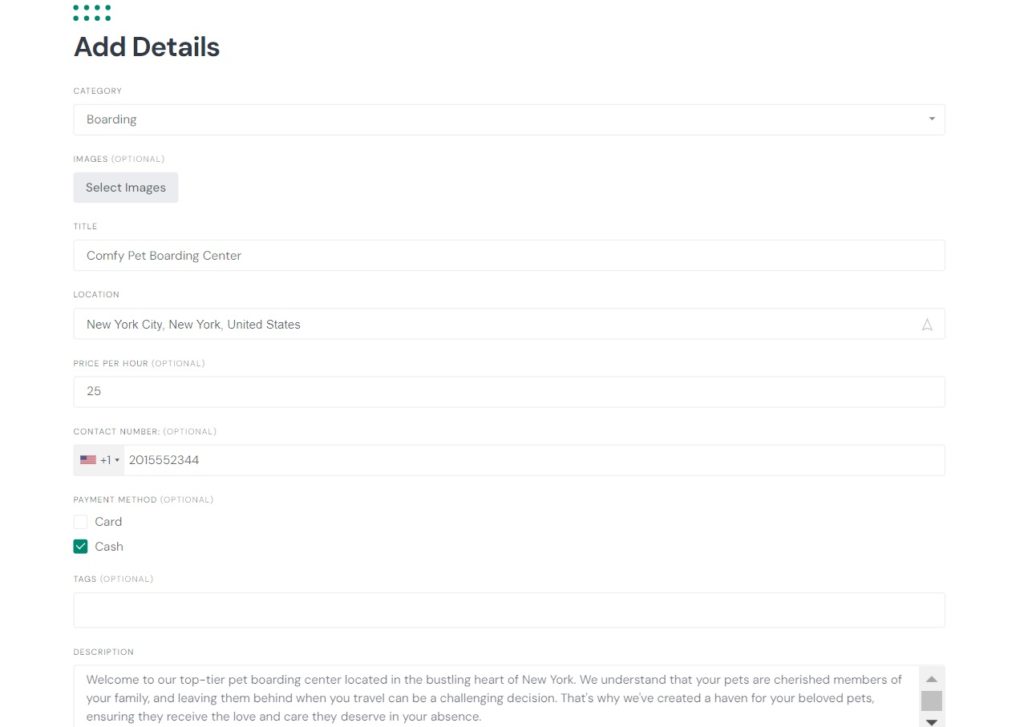
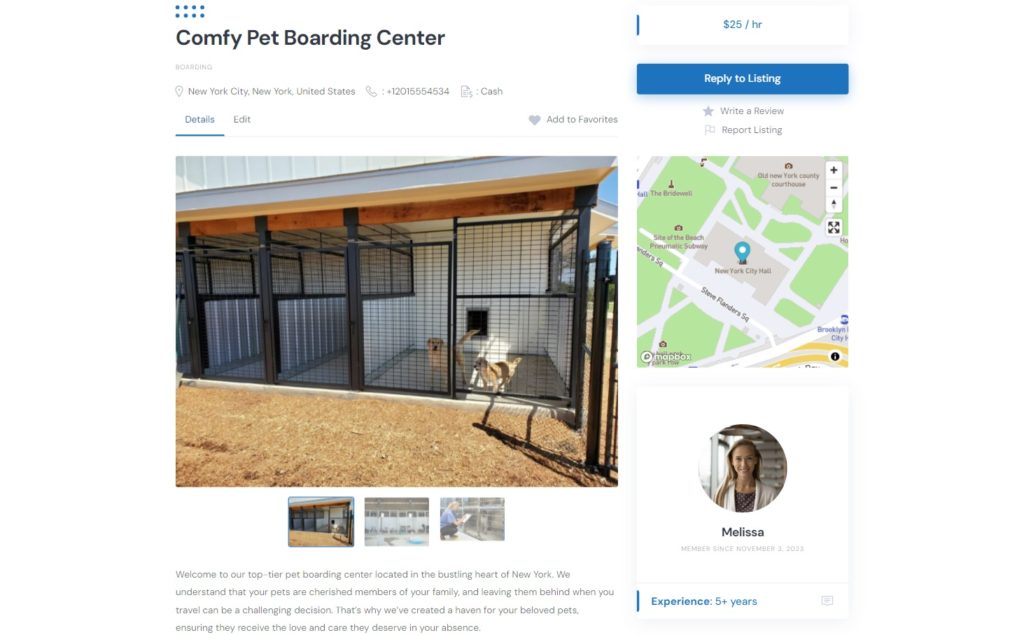
Finally, let’s check what we’ve made by adding a listing. As a website admin, you can do it in two ways: through the backend via the WP Dashboard > Listings > Add New section or directly from the frontend using the listing form. We’ll do it via the frontend to see it through a site visitor’s eyes.
Visit your site and click Submit a Service button. Here, fill in all the fields and press Submit Listing.
If the moderation is enabled, every new listing undergoes a review process. You, as the admin, can either approve or reject these listings within the WP Dashboard > Listings section. After approval, they become visible on the website.
Let’s also discuss monetization options for your future pet care website, as it’s an essential part of every business’s success. There are two common methods:
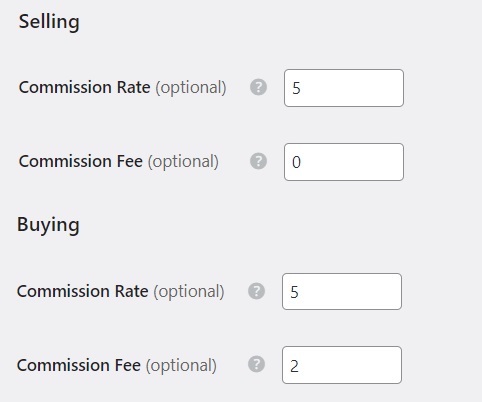
You can charge a commission on each successful sale on your website. It may be a percentage (like 5%), a flat fee (2$), or both. Moreover, vendors can be charged as well as the users.
You can set up all the commission rates in WP Dashboard > HivePress > Settings > Vendors > Selling section. Also, check this doc to set up commissions on your pet care website.
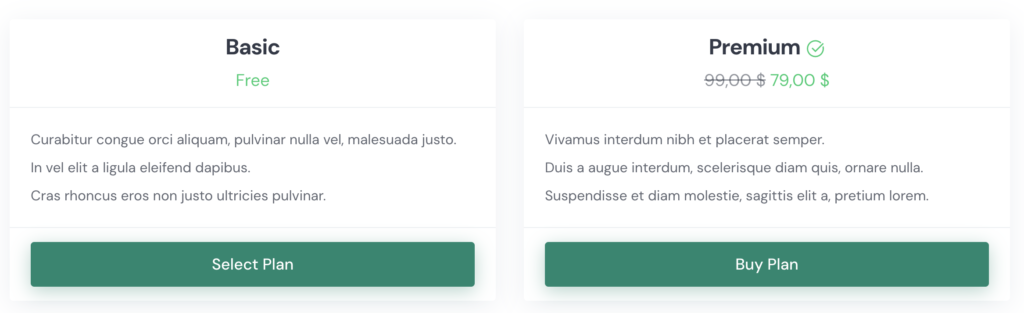
The second monetization option is charging users for adding new listings to your website using the premium Memberships extension. For instance, you can offer a free plan that allows posting only one listing and a premium plan for users who want to post two or more listings (check this doc to add listing plans).
Feel free to check our article on how to monetize a marketplace of services. We covered the most common monetization models and how to enable them on HivePress-built websites.
That’s it! We hope this tutorial was helpful to you and now you know how to create your own pet care website with WordPress. Don’t forget that ExpertHive theme and HivePress plugin are good solutions for this purpose. Good luck with your project!
Additionally, you can check our article on the best service finder WordPress themes.
An easy guide on how to start a WordPress salon directory website.

Build your own job portal website without any coding skills, using WordPress.

Launch a product catalog website for your business in 6 steps.