
How to Create a Website like Airbnb with WordPress [9 Steps]
Launch your own booking & rental platform similar to Airbnb using WordPress.
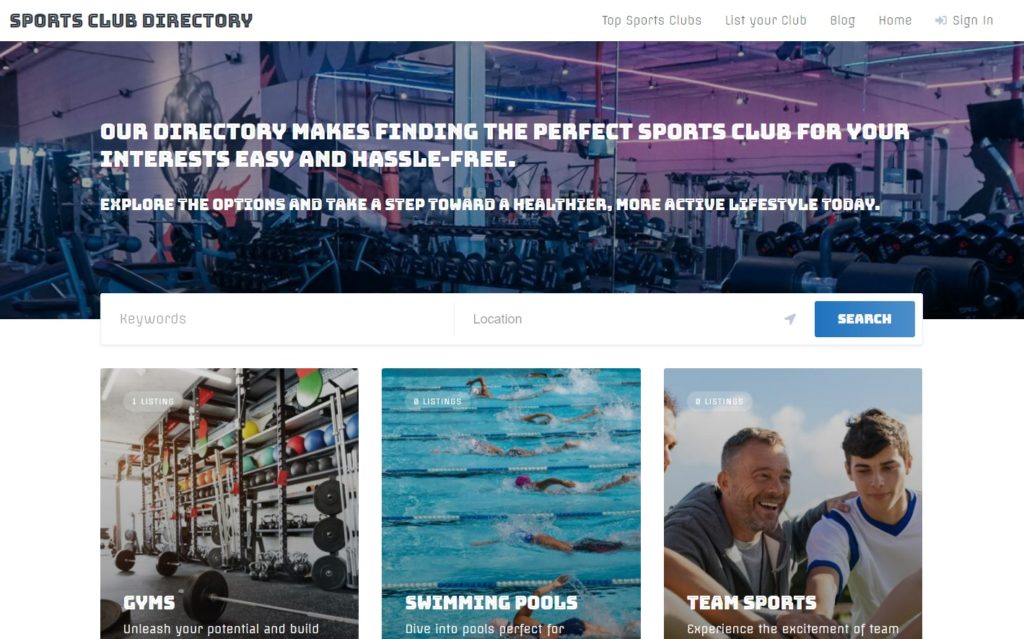
A quick tutorial on how to create sports directory website.

More and more people are adopting healthy lifestyles. As a result, the demand for different sports experiences and the number of sports clubs is growing. With this in mind, creating a local sports directory website where people can find sports activities in their neighborhood seems like a profitable business idea, doesn’t it? In this tutorial, we’ll show you how to do it easily using WordPress.
Let’s get started!
A local sports directory is an online platform that collects information about different sports clubs, making it easier for people to find and connect with the ones that match their interests, budget, and location. These directories typically provide details about the sports offered, club facilities, membership options, and contact information.
To create a local sports directory, you’ll need to have some things in place.
In this tutorial, we’ll use ListingHive, a free modern directory WordPress theme, paired with HivePress, a free multipurpose directory plugin that will handle all the necessary features on your local sports directory website.
Okay, can start building our website. The first step is to install the theme and all the necessary plugins.
To install ListingHive, visit the Appearance > Themes > Add New Theme page, then use the search box to find it and proceed by installing and activating the theme.
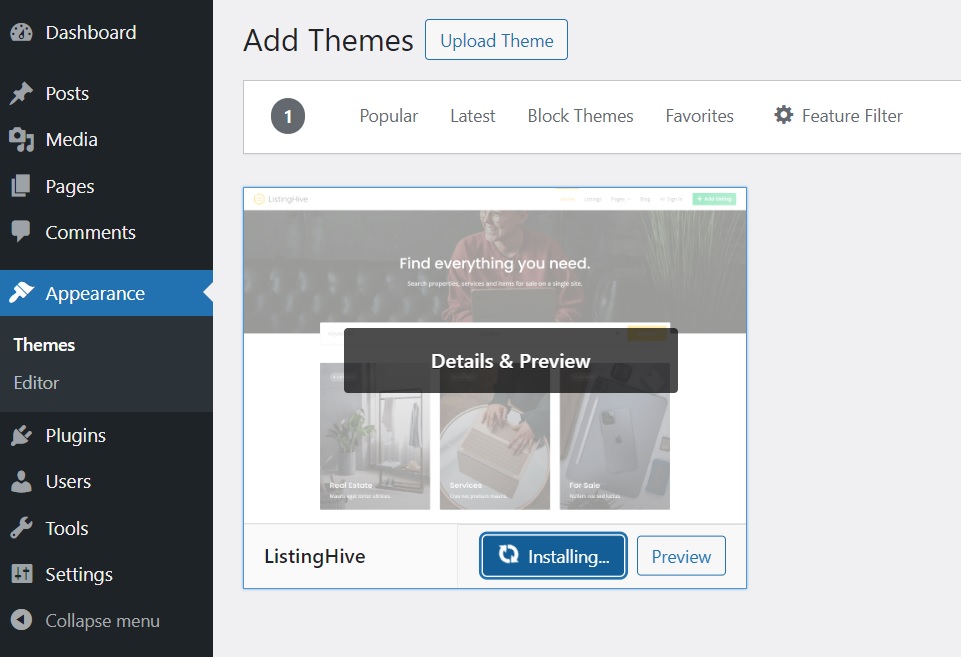
After the ListingHive installation, you’ll get a suggestion to install HivePress, a plugin that will power most of the website’s features. Simply click on the recommended link and install it.
Good, now we have the theme and the core plugin in place. Still, you may want to install some extensions depending on the functionality you’re aiming for. There are more than 15 HivePress extensions that are fully compatible with each other, and you can find them in the WordPress Dashboard > HivePress > Extensions section. For example, let’s install the following ones:
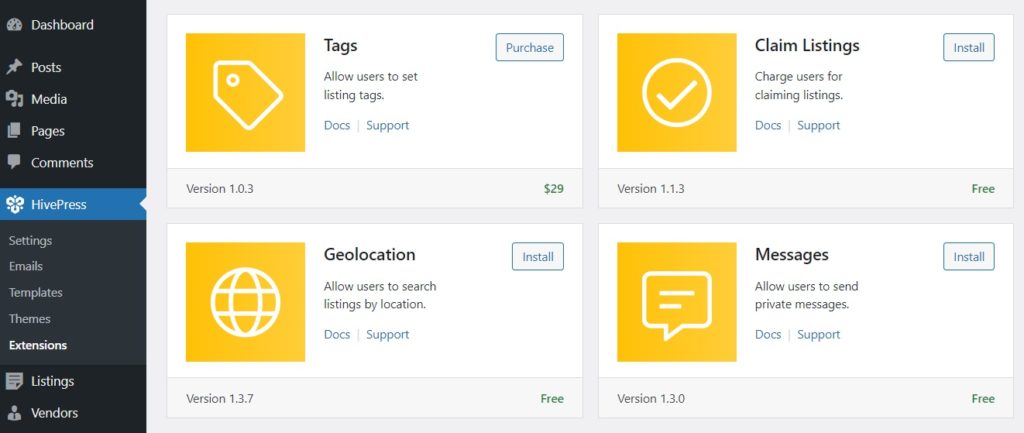
To install an extension, click the Install button. Then, activate the extension.
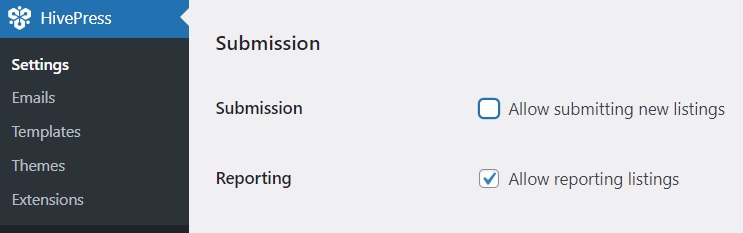
It’s essential to properly set up your directory, so before jumping into the creation process, we’ll go through some settings in the HivePress > Settings section. For example, if we uncheck the listing submission option in the Listings tab, the admin will be the only person who can add listings to the directory. However, if you want other users to be able to submit listings, too, keep this box checked.
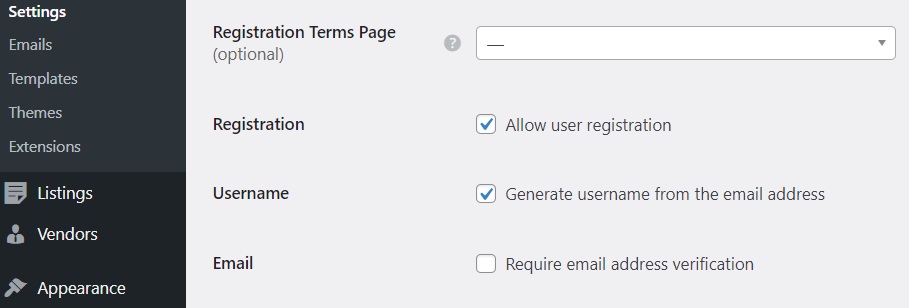
Once you’ve reviewed all the settings in the Listings tab, you can go to the Users tab. Here, we recommend enabling email verification to ensure all registered users are real.
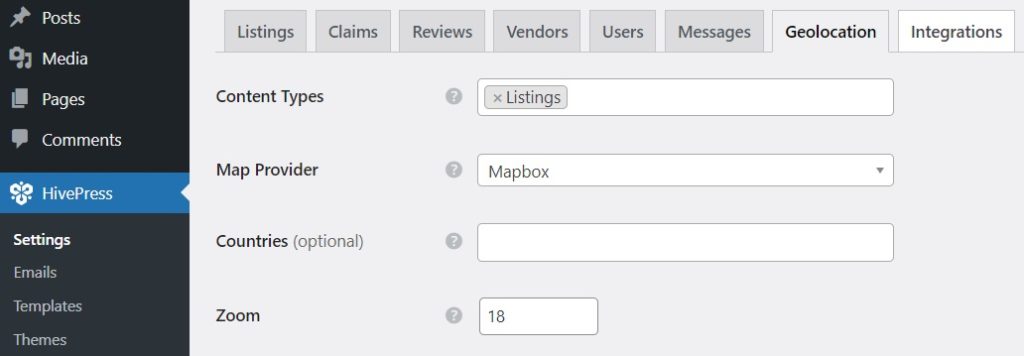
Now, if you installed the Geolocation extension in the previous step, it must also be configured. In the Geolocation tab, you can choose between Google Maps and Mapbox as your map providers, but we recommend selecting Mapbox because it’s easier to set up. To set everything up, please refer to this doc.
Please note that we have shown you only a few sections, but with the addition of new extensions, the number of settings tabs will increase. Therefore, we recommend going through all of them in detail to make sure that your local sports directory works in the way you want.
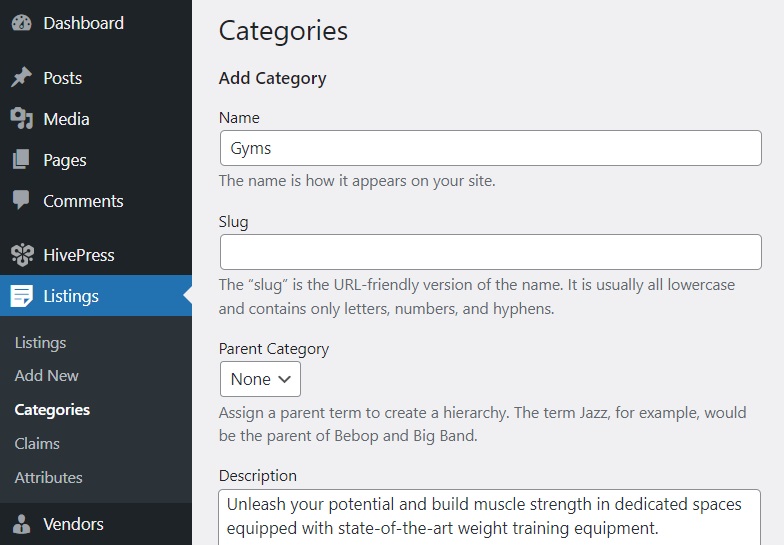
To make your site easier to navigate, the next step is to divide your local sports directory into different listing categories. There are no pre-made categories in ListingHive, so you can feel free to create as many custom ones as you need to. To do it, go to Listings > Categories. Here, you can name your category, provide a description, and upload a category image. Additionally, if necessary, you can create a hierarchy by setting a parent category. Click Add Category to finish.
Similarly, you can create many different categories. Everything depends on your website niche and requirements.
With HivePress, you can create an unlimited number of custom listing fields and search filters for any purpose. Let’s go to Listings > Attributes > Add New and try to create an essential field such as “Basic Membership Cost” as an example. Firstly, you need to write the field’s name. Then there are three sections:
%label%: $%value% (please check this doc to learn more about customizing custom fields).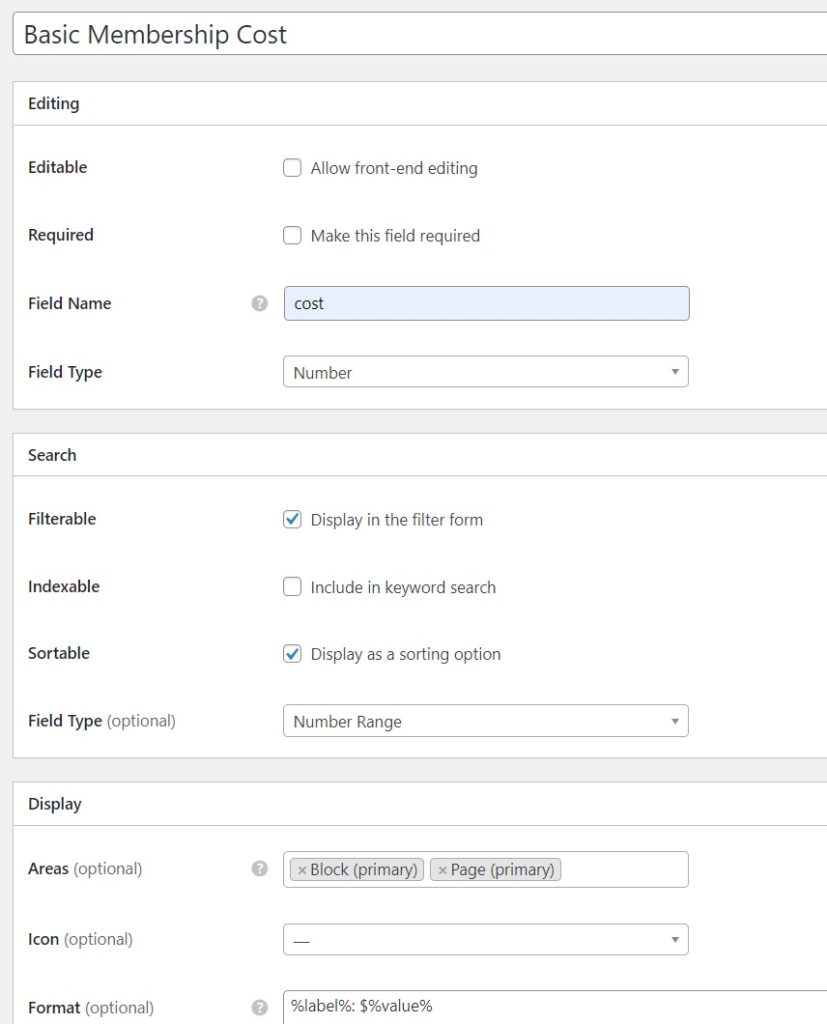
Once you finish customizing your custom fields, simply click on the Publish button. Feel free to add as many listing fields and search filters as you need for your website. Simply follow the same steps.
Now it’s time to design a homepage for your local sports directory. To create a new page, go to Pages > Add New Page and type in its name. Then, start adding different blocks, such as “Listing Search Form” and “Listing Categories”. You can type “HivePress” in the search bar to see all available HivePress blocks. Also, you can customize blocks in the settings column to the right. When finished, press Publish.
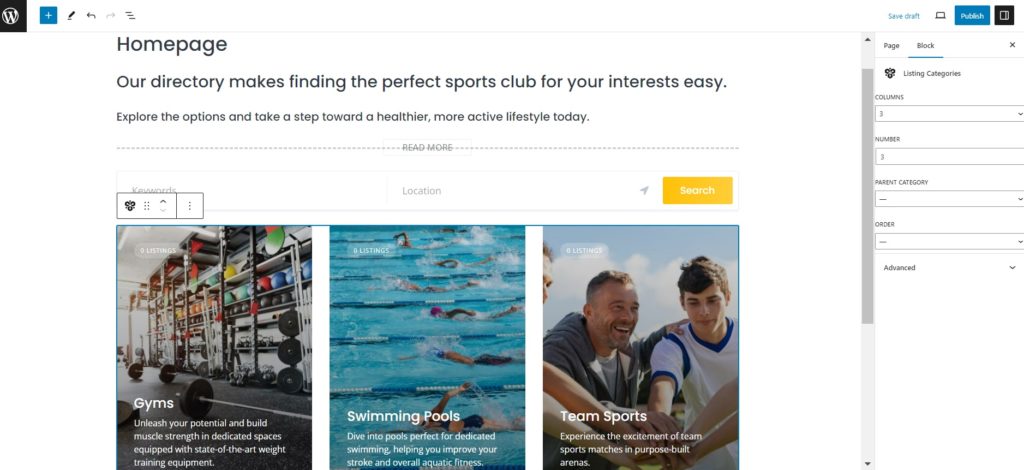
After this, head to the WP Dashboard > Settings > Reading section and select this page as the website’s front page.

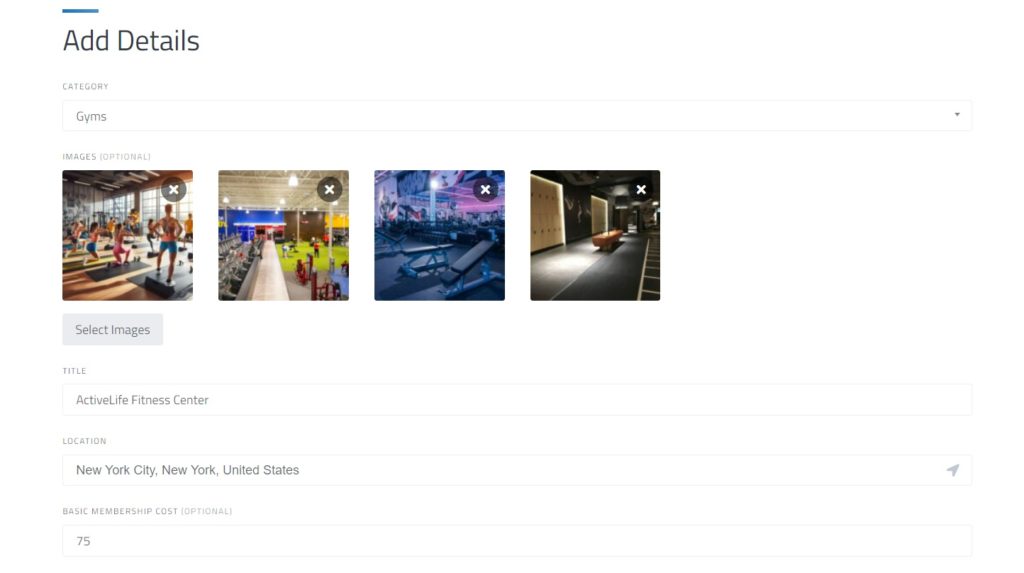
Finally, let’s check the work done and try to add the very first sports club listing. You, as an admin, can do it from the back-end by going to Listings > Add New or via the front-end (if the front-end listing submission is enabled). Let’s do it from the front-end. First, provide the listing title and assign it to the corresponding category. Also, you need to upload the listing images.
After this, you need to fill in all the previously created custom fields and add the description in order to provide users with comprehensive information about the club or sports activity. By the way, if you installed the Opening Hours extension, users will be able to indicate when the club is open.
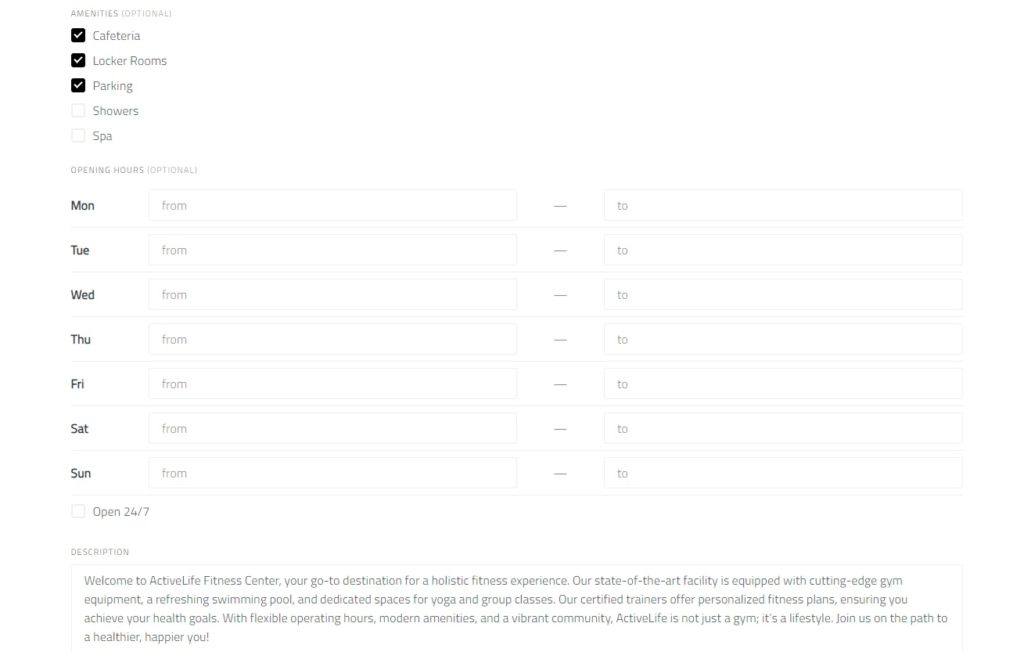
When everything’s ready, hit Submit Listing. Next, you have to approve the listing request in the WP Dashboard > Listing section to make this listing visible on the site.

That’s how it works! Now let’s jump into the next section, where we’ll show you how to make money with your local sports directory.
Let’s briefly cover two main ways of monetization depending on the model of your directory:
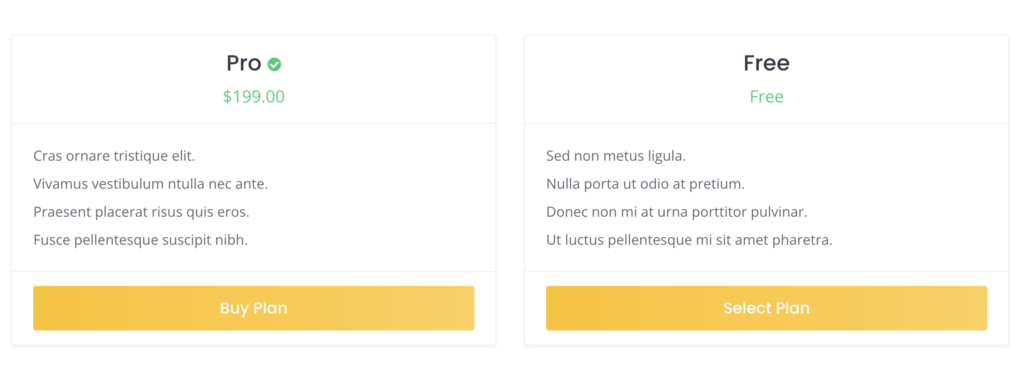
If you allow front-end listing submission, the best option is to charge users for adding listings and making them featured. To do this, you need to install the HivePress Memberships extension. Once you install it, you’ll be able to create different listing plans, so users have to choose at least one plan to add a new listing. The extension isn’t limited to this, you can use it in various other ways too, such as charging users for accessing premium features or content.
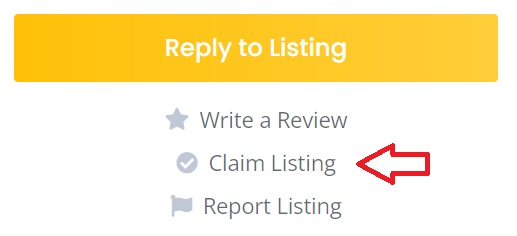
If you use a different model on your website and don’t allow the front-end listing submission, then the “claiming” monetization model (like Yelp does) is just for you. You, as an admin, add sports club listings and all the information about them. Then, with the HivePress Claim Listings extension, you can charge users (sports club owners) for claiming listings, which grants them access to editing and replying to user reviews & messages, etc. It’s a win-win monetization model because business owners will be able to manage their listings directly and communicate with customers, while you will always have up-to-date information on your local sports directory.
If you want to learn more about different monetization models, you can check our article on the best directory website monetization models.
Congrats! Now you know how to make your own local sports directory using WordPress. We hope this article was helpful and that the tips provided above will assist you in launching your site. Remember that it is now easier than ever to create a directory website with WordPress using the ListingHive theme and the HivePress plugin, both of which are free and user-friendly.
Additionally, you may want to check some of our other articles:
Launch your own booking & rental platform similar to Airbnb using WordPress.

A short tutorial on how to create a pet services website with WordPress.

Build your own classified ads website without a single line of code.