
Create an AI Tools Directory like Futurepedia with WordPress
A short tutorial on how to build an AI tools directory website with WordPress.
A quick guide on how to build a WordPress lawyer directory website.

Many lawyers lack individual websites, making it challenging for clients to find them online. That’s where lawyer directory websites come into play. In this guide, we’ll walk you through the whole process of creating a lawyer directory website with WordPress.
Let’s start!
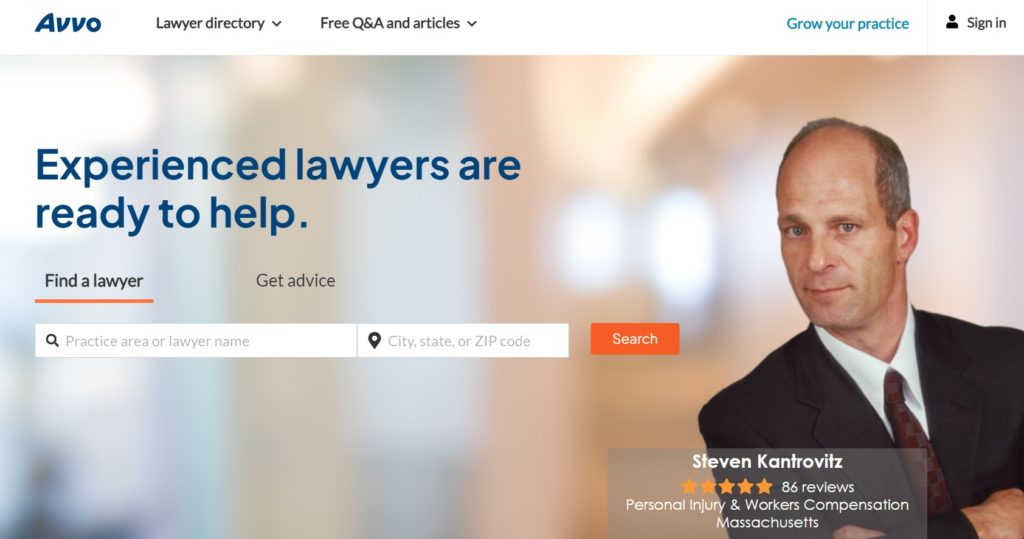
Lawyer directories act as centralized hubs where customers can efficiently filter lawyers based on their expertise, the nature of the case, and budget considerations. This approach simplifies the often complex process of finding the right legal professional. A notable example of such a platform is Avvo.
Make sure you have all the necessary prerequisites before starting:
In this tutorial, we’ll use ExpertHive, a lightweight and clean service marketplace WordPress theme. When combined with HivePress, a multipurpose directory plugin, it becomes a great solution for building a robust lawyer directory.
Okay, now let’s move to the tutorial part of this article and create a lawyer directory website. First of all, you need to install the WordPress theme and all the necessary plugins.
To install the ExpertHive theme, navigate to the Appearance > Themes > Add New > Upload Theme page and upload the theme ZIP file. Then click on the Install Now button and proceed by activating ExpertHive.
After this, you’ll be suggested to install the required plugins, including HivePress, which will handle most of the website’s features. Simply follow the suggested link to do it.

The next thing you need to do is add different law categories so that customers can easily navigate through your directory and find lawyers that match their cases. For example, let’s add the following ones: Real Estate Law, Criminal Law, Business Law, Immigration Law, Bankruptcy Law, and Healthcare Law.
To do that, go to the Vendors > Categories section and start by naming a category. Then, you can add the description. Also, you can create a hierarchy of categories, if necessary, simply by choosing a parent category.
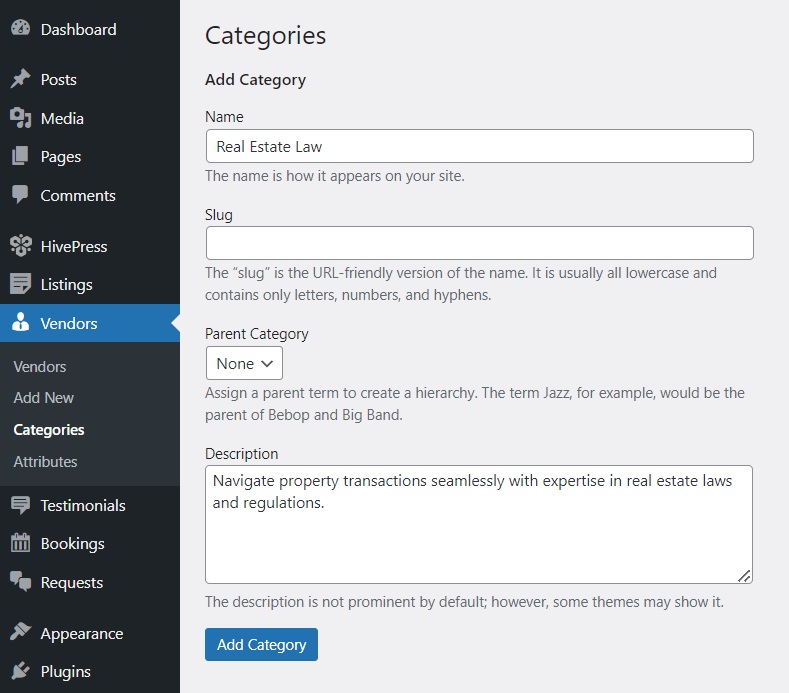
Click on the Add Category button when finished. Note that you can add as many categories as required for your lawyer directory website by following these steps.
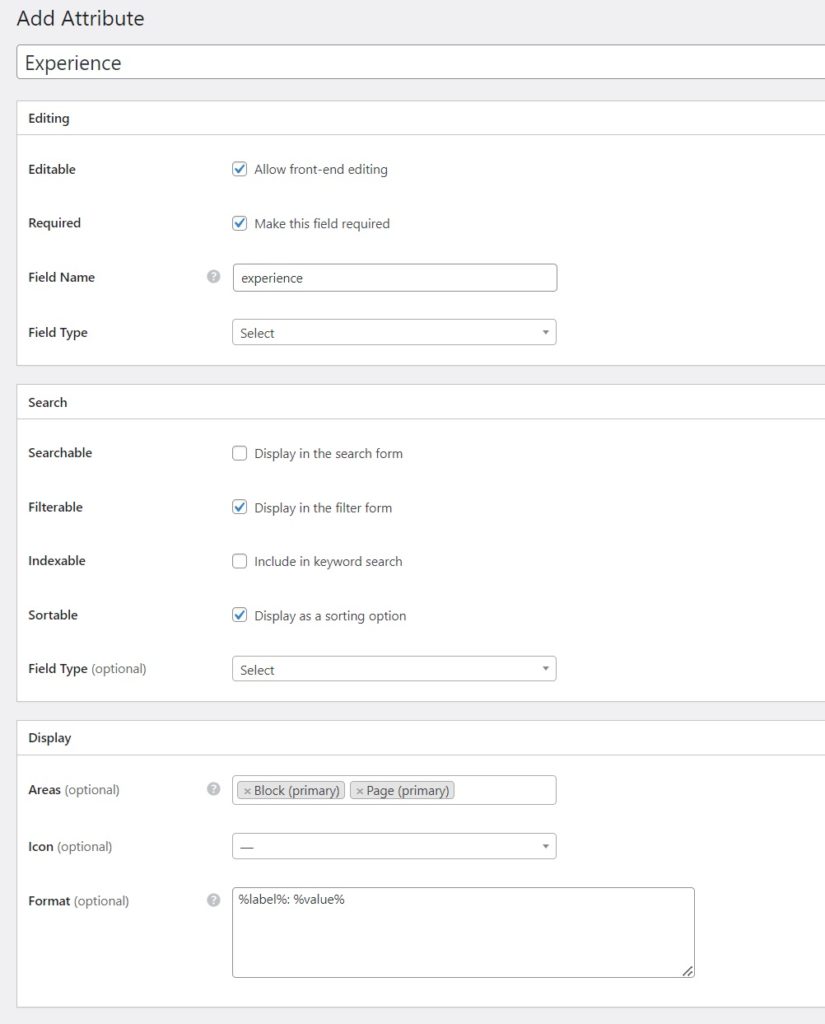
Once you add all the categories, you can add custom vendor profile fields and search filters to allow users to search for lawyers and gain information about them. For example, let’s create the “Experience” profile field, so lawyers can indicate their work experience when registering, while users will be able to filter specialists based on it.
To create a new field, go to Vendors > Attributes. Start by giving it a name. In the Editing section, enable front-end editing and make this field required. For the field type, choose “Select”. In the Search section, you can allow users to use this attribute as a search filter. Mark it as filterable, sortable, and pick the “Select” field type as well. Finally, in the Display section, you can choose how your custom field will appear on listing pages by assigning it to certain areas and setting its display format. For example, for the “Experience” field, we’ll choose Block (primary) and Page (primary) areas and use the following display format: %label%: %value%.
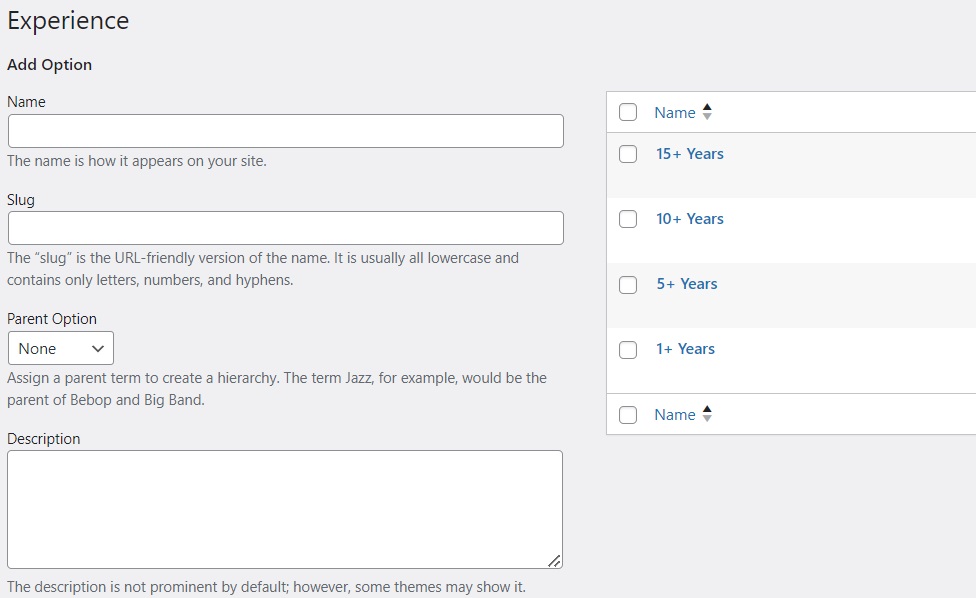
When finished, press Publish. After this, you’ll see the Edit Options button appear. Click on it to add experience period options, such as “More than one year”, “More than five years”, and so on.
Keep in mind that you can add as many custom fields and search filters as you need, like “Office Location”, “Languages Spoken”, “Education”, “Price per hour”, etc. Everything depends on your website niche and requirements.
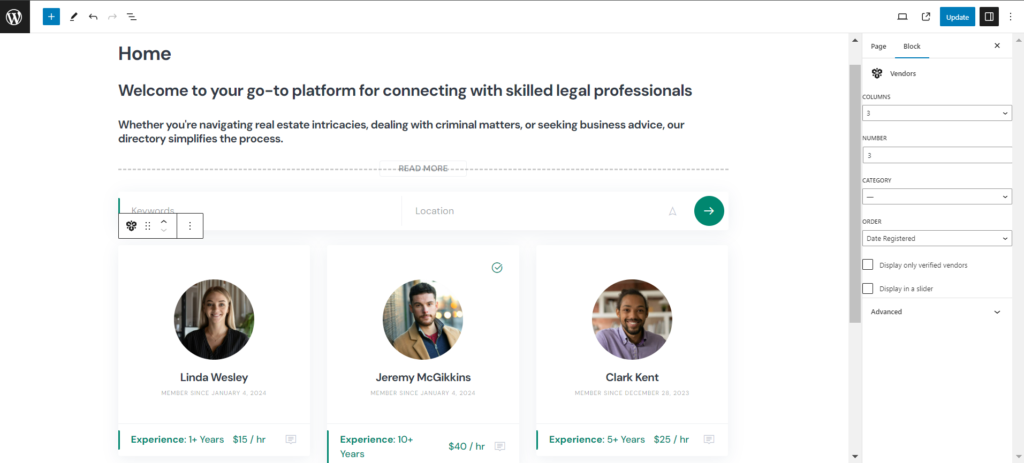
The next step is creating a homepage for your lawyer directory website. Thanks to the HivePress integration with Gutenberg, a native WordPress page builder, this process is easier than ever. Go to Dashboard > Pages and click Add New. Then, write the page title, like “Home”, and start adding layout blocks by clicking the Plus icon and choosing desired ones such as “Vendor Search Form” or “Vendors”. Also, you can customize each block as you like in the menu on the right. Once you finish, click on the Publish button.
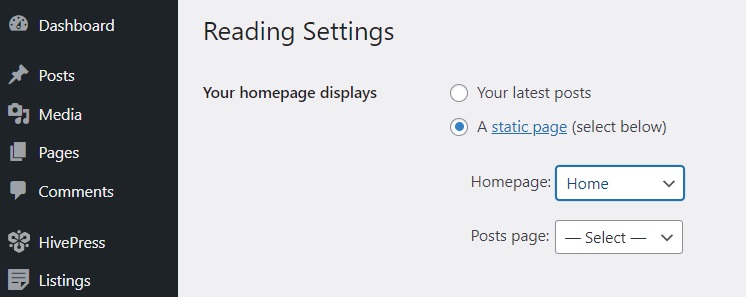
Now, it’s necessary to go to Dashboard > Settings > Reading section and set the page you’ve just created as your homepage (as shown in the screenshot below).
That’s it. You have just created a homepage for your lawyer directory website. The next step is to customize its look and feel according to your preferences. Feel free to check the video below to do that.
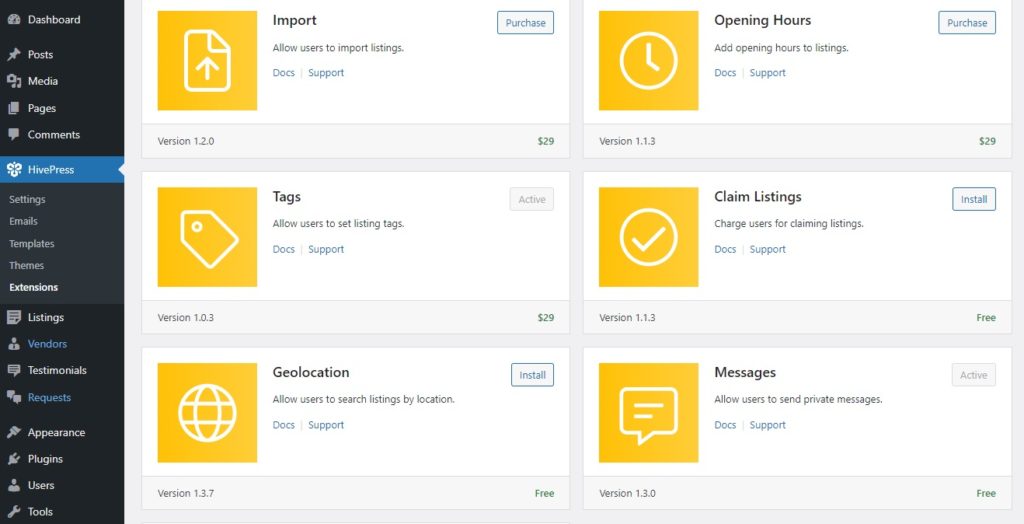
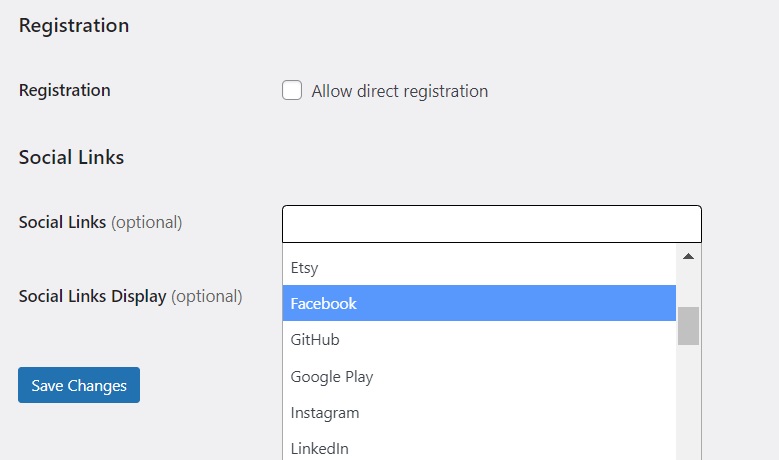
Since your website is powered by HivePress, you can always extend your website’s functionality by installing add-ons from the HivePress > Extensions section. For example, for a lawyer directory, you might want to install Geolocation, which allows users to search lawyers by location, or Social Links, which allows adding social links to lawyers’ profiles. Additionally, take a look at the Bookings extension, which allows users to book appointments with chosen specialists (check our article on creating a lawyer appointment booking website).
Feel free to check all the add-ons in the HivePress > Extensions section and install those that are necessary for your lawyer directory.
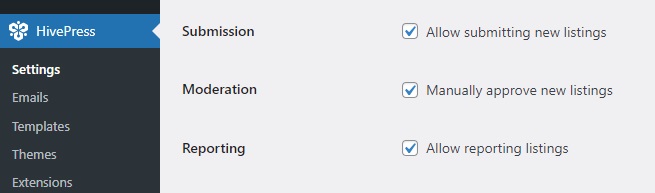
Once you are done with extensions, you can go through some essential settings in the HivePress > Settings section. For example, in the Listings tab, you can disable new listing submissions, which is necessary if you want to be the only person who ads listings on your website. In the same way, you can turn off the manual listing moderation. In that case, site admins will have to manually approve all the new listings that users add.
Please note that by default in HivePress, you must add at least one listing to become a vendor. However, you can turn on direct vendor registration in the Vendors tab to allow users to register as vendors (i.e., lawyers) right away.
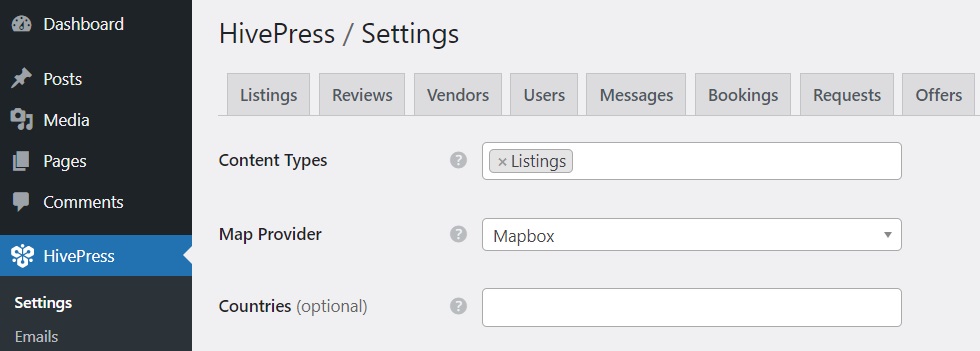
Finally, if you decide to add the Geolocation extension mentioned above, it’s crucial that you set it up as well. Note that you can choose between Google Maps and Mapbox as your map providers, but we recommend selecting Mapbox since it’s easier to set up. Please check this doc to set everything up correctly and get a map on your website.
We covered only a few settings, but we recommend going through each section to make sure that everything works in the way you like. Now let’s move to the next step and create the first vendor profile on your lawyer directory website.
Let’s check how the registration process works and try to create a lawyer profile. First of all, if you enabled direct vendor registration, you need to add a vendor registration form to your site. That form will contain the custom vendor profile fields you added in previous steps.
Once you add a registration form, go to your website and try adding a new vendor profile by filling out all the fields in the registration form (in the screenshot below, you can see an example of a vendor profile form).
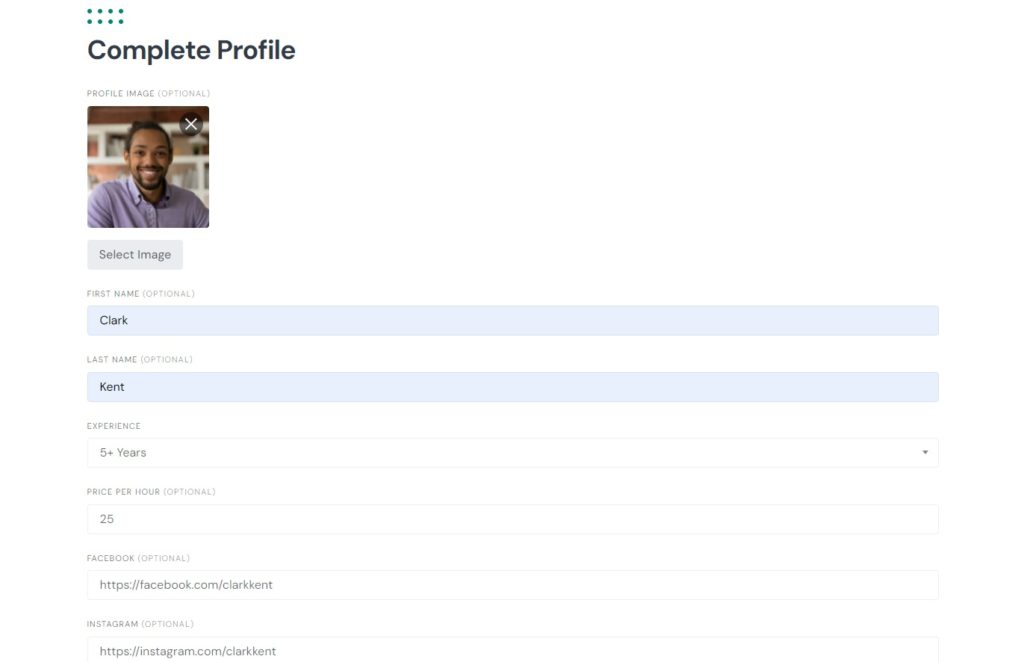
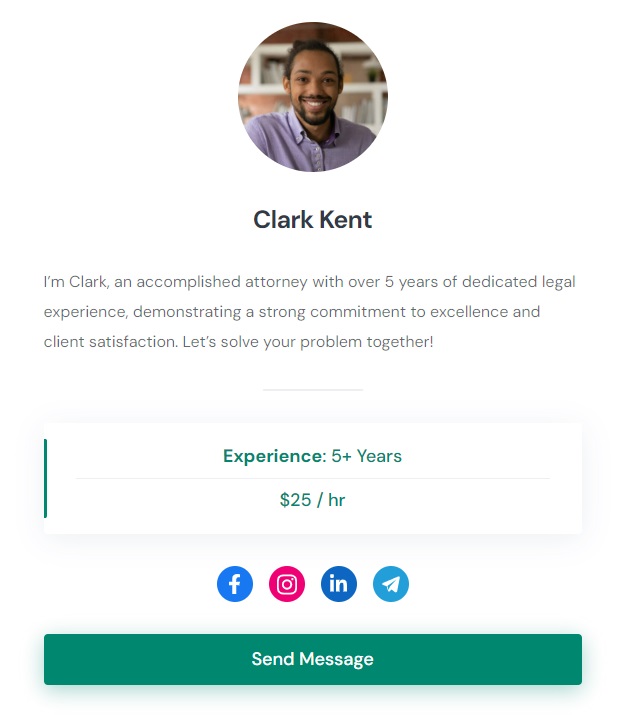
Okay, now let’s check how the newly added profile looks on the front end. As you can see, all the necessary information is in place.
Finally, let’s briefly discuss how you can monetize your future lawyer directory. You can start with these two common methods in the first place:
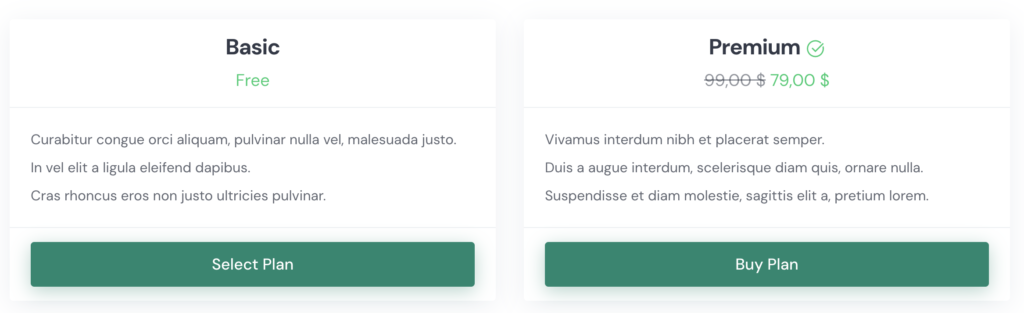
The first method is charging users for adding new listings. For example, you can offer a free plan that allows posting only one listing and a premium one that allows adding more listings and some other features.
The second option is charging users for making their listings featured. The promoted listing appears at the top of search results and thus gains more visibility. It’s a common monetization model for most directory websites since any professional is interested in getting higher positions on the list.
These two monetization options are available through a single plugin — the premium Memberships extension.
And that’s it! By following these steps, you can easily build a lawyer directory website using WordPress. Keep in mind that both ExpertHive and HivePress are user-friendly and come with all the necessary features to launch a lawyer directory website in next to no time. So you can just plug and play!
Feel free to check our articles on:
A short tutorial on how to build an AI tools directory website with WordPress.

Launch your own сar listing website in a few simple steps.
A step-by-step tutorial on how to build your own Tripadvisor using WordPress.